Showing posts with label DroneBuilding. Show all posts

Friday, 20 June 2025

Build Your Own Mini Drone Testing Rig with 3D Printing


Build a 3D Printed Mini Drone Testing Stand


If you have ever rushed to catch a crashing drone during indoor tests, this one's for you. In this guide, you will learn how to build a Build a 3D Printed Mini Drone Testing Stand, based on the Open Gimbal concept, that keeps your mini drones secure while you test. No more unexpected takeoffs or crash landings.

Why Build a Testing Rig?

  • Prevent crashes and protect props and motors
  • Fine-tune flight behavior in a controlled environment
  • Save money, commercial rigs cost thousands; this one uses only ~$50 in parts
3D-Printed-Parts-Drone-Testing-Rigs

Parts You will Need

3D Printed Components:

  • Base, mid‑rings (A&B), outer ring, connectors, drone holder

Mechanical Hardware:

  • 603zz bearings ×4

  • 606zz bearing ×1

  • M6 bolt (50 mm)

  • M6 nuts & washers

  • M3 bolts (30 mm), nuts & washers

Tools:

  • Screwdriver, Allen key, mini pliers

How It Works

  1. Base + outer ring are connected via M6 bolt for stability.

  2. Mid-rings snap into the outer ring—with or without light sanding—and rotate smoothly.

  3. Bearings + M3 bolts hold the mid-rings securely.

  4. Drone holder with spacers attaches so your mini-drone can be mounted safely

Final-Assembly-with-Drone


Assembly Steps

  1. Connect base + outer ring using M6 bolt and washers.
  2. Insert bearings into outer ring’s edges.
  3. Attach mid-rings to outer ring with M3 bolts and nuts (add washers to space parts).
  4. Install drone holder, using bearings and bolts, adjust bolt lengths to avoid hitting props.
  5. Mount your drone using Velcro or ties—and you’re ready to test

Testing and Tuning

  • Mount the drone and spin props at low throttle to check smooth rotation.

  • Use the rig to fine-tune flight controls like PID values, free from external influences like wind.

  • Test motor/prop combos safely, listening for unusual vibration.

  • Diagnose issues by checking clearance and tightening bolts if behavior is erratic

3D models and assembly guides are all open-source and available in the tutorial 

Recommended 3D print settings

  • Layer height: 0.2 mm
  • Infill: 20–30%
  • Supports for overhangs
  • Specific orientation files included

You are building a compact, DIY Drone Test Rig that holds your drone securely while allowing free movement on all axes. this project is perfect for safely fine-tuning flight parameters, checking motor thrust, and running diagnostics, without the risk of costly crashes or needing expensive gear.

Ready to get started? Head over to the full tutorial, grab the 3D-print files, and tell us how your test rig turns out.

Monday, 1 April 2024

How to Build a Low-Cost Drone with ESP32?


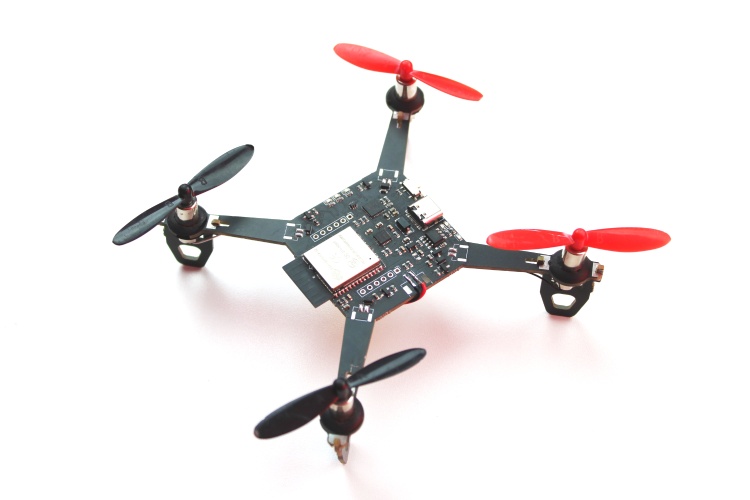
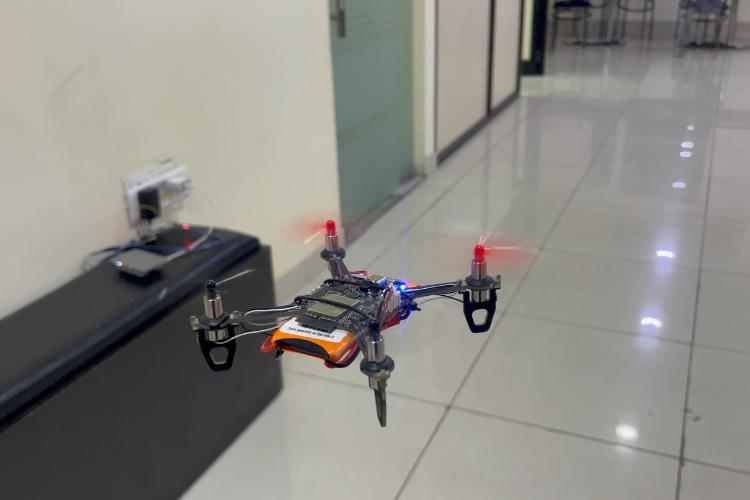
Drones have evolved from simple toys to versatile tools with countless applications across industries. Whether for aerial photography, agricultural monitoring, or military operations, drones rely on advanced technology for their functionality. In this project, we'll create a DIY Wi-Fi Controlled Drone using accessible components like ESP32 modules, MPU6050 IMU, coreless motors, and plastic propellers. This method enables hobbyists to build their own drones without requiring costly equipment.


Key Features:


  • Smartphone Control: Operate the drone wirelessly via smartphone for easy handling.

  • Stability Control: Integrated MPU6050 IMU ensures smooth flight performance.

  • Compact Design: All-in-one PCB layout simplifies assembly, eliminating the need for 3D printed parts.

  • Upgradability: Easily integrate additional features for customization in the future.

  • Lightweight: Portable and maneuverable design makes it ideal for various applications.

  • Built-in Convenience: Includes features like built-in battery charging and USB interface for programming and debugging.

  • Compatibility: Works seamlessly with both Android and iOS devices.

  • Open-Source: Customize and modify the drone to suit individual preferences.


Components Needed:

For this project, gather:


  • ESP32 modules

  • MPU6050 IMU

  • Coreless motors

  • Propellers

  • PCBs

  • Other electronic components

Check the provided list for a comprehensive overview.


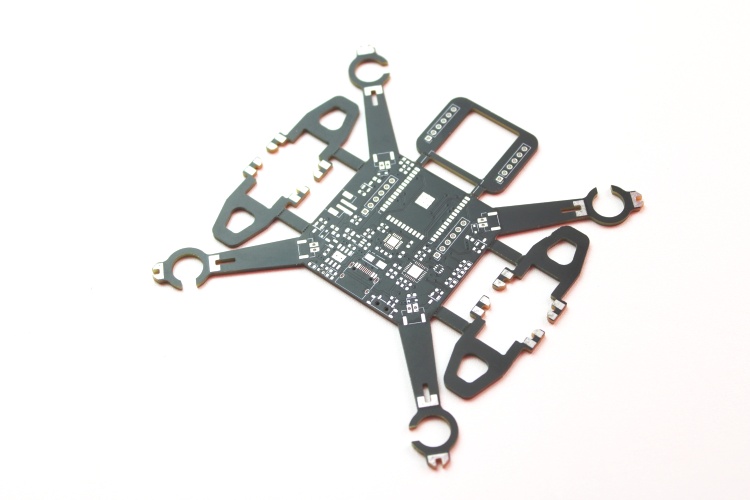
1) Our circuit diagram showcases connections between components, including USB port for charging and programming, voltage regulation, and motor driver circuits.


2) Compact and sturdy PCB design ensures easy assembly and incorporates mounting feet for stability.


3) The drone's firmware, based on ESP-drone firmware from Espressif, is coded using ESP-IDF version 4.4.5. It controls user commands, sensor data processing, and motor control.


4) Pre-flight checks are essential to ensure proper functionality before takeoff.


Supporting Files:

Download schematics, PCB designs, and firmware from the Circuit Digest GitHub repository.

For a detailed tutorial, watch the complete video guide here.