Showing posts with label DHT11. Show all posts

Saturday, 28 March 2026

Arduino Send Email Notifications Using DHT11 and UNO R4 WiFi

Temperature Monitoring System and Email Alerts Using Arduino

Keeping track of temperature and humidity sounds simple… until you actually need to monitor it constantly. Whether it’s your room, a server setup, or even a greenhouse, conditions can change quickly without you noticing. That’s where automation really helps.

In this project, we build a simple Arduino Send Email Notifications system that keeps you updated in real time. Using an Arduino UNO R4 WiFi and a DHT11 sensor, the system continuously monitors environmental conditions and sends an email alert whenever the temperature crosses a set limit.

What This Project Does

At its core, this is a smart monitoring system. The DHT11 sensor keeps reading temperature and humidity, while the Arduino checks if the values stay within a safe range.

The moment the temperature exceeds a predefined threshold, the system automatically sends an email notification using a cloud API. No need to manually check anything - you get notified instantly.

It’s simple, practical, and surprisingly useful in real-world scenarios.

Components Required

Hardware Setup of Arduino Based Alert System

The best part about this project is how minimal the hardware is. You only need:

  • Arduino UNO R4 WiFi
  • DHT11
  • Breadboard
  • Jumper wires

That’s it. No GSM module, no extra hardware - WiFi does all the work here.

How the Setup Works

Temperature Alert System with Email Notification Using Arduino

The wiring is straightforward. The DHT11 sensor connects to the Arduino with just three main connections:

  • VCC - 5V
  • GND - GND
  • Data - Digital Pin 2

Once powered, the Arduino connects to your WiFi network using its built-in wireless capability. This is what allows it to communicate with the cloud and send email alerts.

How the System Works

Here’s what happens behind the scenes:

  • The sensor continuously reads temperature and humidity
  • Arduino compares the temperature with a preset threshold
  • If everything is normal - no action
  • If temperature crosses the limit - alert triggered

At that moment, the Arduino creates a JSON request and sends it securely to the CircuitDigest Cloud Email API. The cloud service then formats the message and delivers it straight to your inbox.

To avoid spamming, the system includes a smart control mechanism. Once an email is sent, it won’t send another until the temperature returns to normal and crosses the threshold again.

Code Logic in Simple Terms

The program is divided into a few clear steps:

  • Connect to WiFi
  • Read sensor data
  • Check temperature condition
  • Send email if needed

It uses secure HTTPS communication, ensuring your data is safely transmitted to the cloud server before the email is generated.

Where You Can Use This

This project is more than just a demo. It has real-world applications:

  • Server room monitoring
  • Home temperature alerts
  • Cold storage systems
  • Industrial safety monitoring
  • Greenhouse automation

Basically, anywhere temperature matters - this system fits right in.

This Send Email Notifications using Arduino system is a perfect example of how a simple sensor project can become much more powerful with IoT integration. Instead of just displaying values on a screen, it actively notifies you when something goes wrong.

It’s beginner-friendly, practical, and easy to expand. You can later add features like SMS alerts, dashboards, or even multiple sensors.

If you're stepping into IoT projects, this is a great place to start - simple build, real-world value, and a solid learning experience.

https://circuitdigest.com 

Robotics Projects |Arduino Projects | Raspberry Pi Projects|

Monday, 16 June 2025

Learn How to Send SMS with ESP32 Using SMS API


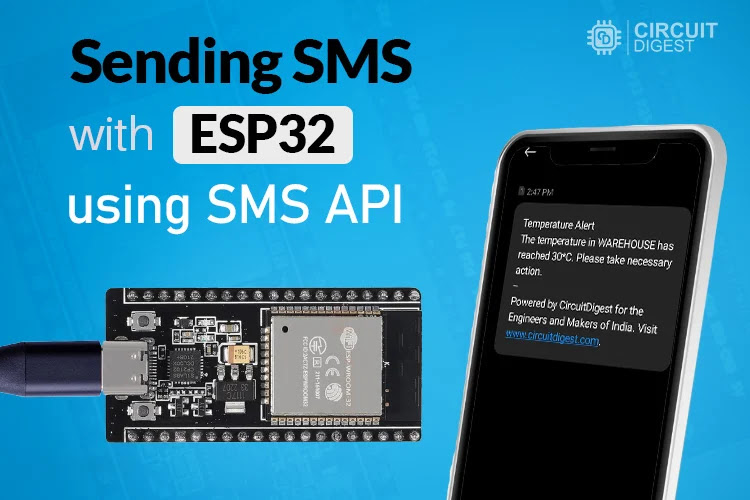
Forget bulky GSM modules and SIM cards, now you can send real-time SMS alerts with ESP32 using the free SMS API from Circuit Digest Cloud. Perfect for applications like temperature monitoring, motion detection, or door-opening alerts. In this project learn how to deliver instant notifications directly to your phone without any apps, dashboards, and fees.

How It Works

  • ESP32 connects to Wi‑Fi using SSID and password.
  • It reads sensor data (e.g., temperature via DHT11).
  • If a threshold is crossed (e.g., temp ≥ 30 °C), ESP32 sends an HTTP request to the SMS API.
  • Circuit Digest Cloud validates your API key and sends an SMS to the linked phone number.
Block-Diagram-ESP32-SMS


What You Will Need

  • ESP32 Development Board
  • DHT11 Temperature Sensor (or any sensor of your choice)
  • Breadboard + Jumper Wires
  • 5V USB Power Supply

Circuit Diagram

Circuit-Diagram-of-ESP32-SMS-API

Getting Started: SMS API Key

  1. Visit Circuit Digest Cloud, sign in or register

  2. Generate your free API key (valid for 100 SMS/month)

  3. Add recipient phone number(s) via OTP

  4. Choose an SMS template (e.g., Template ID 102 for temperature alerts)

Hardware-setup-of-API-based-ESP32-SMS-Sender

Applications of SMS API with ESP32

  • Smart Home & Security: Get alerts for critical events

  • DIY Prototyping: Fast, hardware-free SMS integration

  • Educational Projects: Learn HTTP, JSON, cloud APIs ,  all through ESP32


Thursday, 22 May 2025

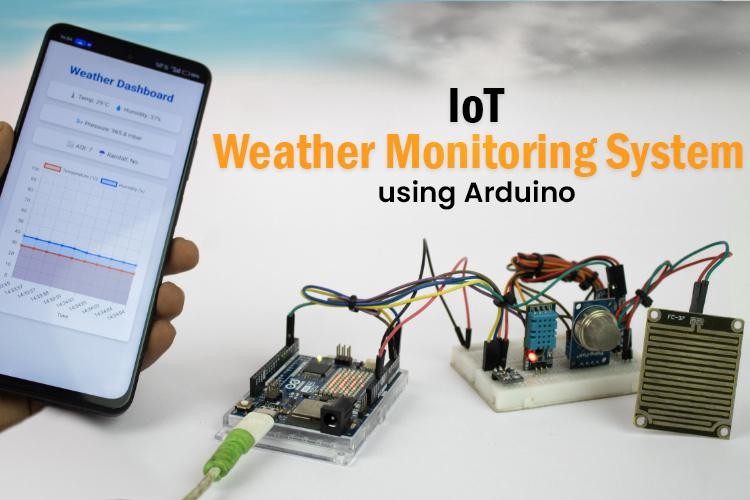
Weather Monitoring System Using Arduino UNO R4 WiFi

Weather Monitoring System

Learn how to create a simple IoT-based weather monitoring system using the Arduino UNO R4 WiFi. This project collects real-time data, such as temperature, humidity, air quality, rainfall, and atmospheric pressure, and displays the information on a local web dashboard. No cloud service or third-party platform is required, making this setup ideal for offline environments.

Features of the IoT Weather Monitoring System

  • Monitors temperature, humidity, air quality, pressure, and rainfall
  • Displays real-time readings on a local Wi-Fi dashboard
  • Operates without cloud connectivity
  • Built with Arduino UNO R4 WiFi, which includes onboard Wi-Fi
  • Easy to assemble and customize using basic electronic components

Components Required

Components required to build an Arduino Weather Monitoring System


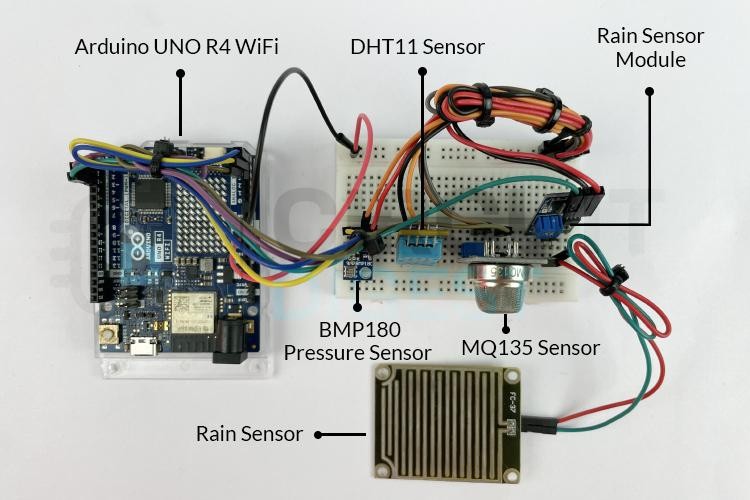
To build this system, you'll need the following:

  • Arduino UNO R4 WiFi
  • DHT11 – Temperature and Humidity Sensor
  • BMP180 – Pressure Sensor
  • MQ135 – Air Quality Sensor
  • Rain Sensor Module
  • Breadboard and Jumper Wires
  • USB Cable for Programming

Circuit Diagram and Assembly of IoT based Weather Station System

Circuit Diagram for Arduino-Based Weather Monitoring System

How It Works

Once powered on, each sensor reads environmental data. The Arduino UNO R4 WiFi processes this data and hosts a local web page that displays real-time values. Since the dashboard is served over your local network, there's no dependency on internet access or cloud platforms. Any device connected to the same Wi-Fi can access it.

Real-World Applications

This weather station can be adapted for various use cases:

  • Educational Projects – Great for learning about sensors, IoT, and data visualization
  • Smart Homes – Monitor indoor/outdoor conditions for automation
  • Gardening & Agriculture – Track weather changes for irrigation or crop planning
  • Offline Setups – Works in remote areas without relying on cloud platforms

For Arduino code and full tutorial: How to Build an IoT-Based Weather Monitoring System Using Arduino

https://circuitdigest.com 

Robotics Projects |Arduino Projects | Raspberry Pi Projects|
Thursday, 1 May 2025

How to use nRF24L01 module with Arduino


If you're looking to add wireless communication to your project, the Arduino and nRF24L01 module combo is one of the most reliable and cost-effective solutions available. Whether you're building a DIY spy bug, a long-range walkie-talkie, or just want to control devices wirelessly, the nRF24L01 lets you send and receive data over long distances using the 2.4GHz band. In this guide, you'll learn how to create your own wireless Arduino project using the nRF24L01 transceiver , complete with circuit diagrams and step-by-step instructions.


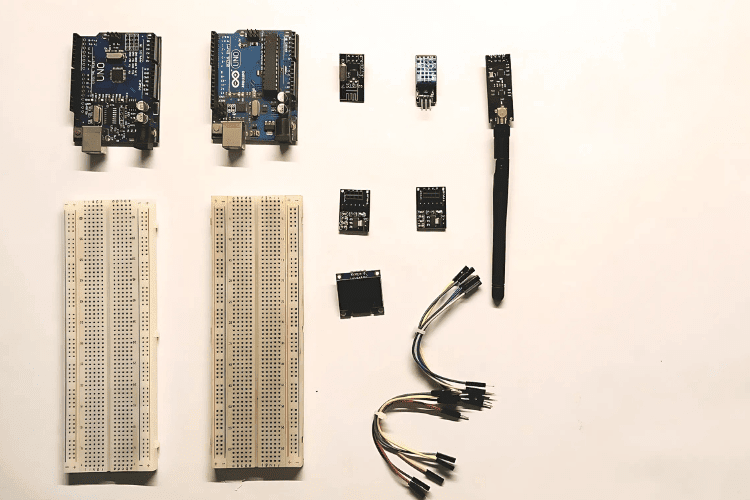
Components Required

  1. Arduino Uno – x2

  2. nRF24L01 – x2

  3. 3.3V Adapter Board for nRF24L01 – x2

  4. DHT11 Temperature and Humidity Sensor

  5. OLED Display

  6. Breadboard – x2

  7. Jumper Wires

Understanding the nRF24L01 Module

The nRF24L01 is a compact 2.4GHz transceiver module designed by Nordic Semiconductor. It supports both transmitting and receiving data and communicates with microcontrollers over the SPI interface. This module operates on 3.3V and consumes very little power—about 12mA during data transmission. There are multiple versions of this module, including one with an external antenna and an onboard PA (Power Amplifier) and LNA (Low-Noise Amplifier) chip (RFX2401C), which greatly improves the communication range and reliability, especially in noisy environments.

3.3V-Adapter-Board-for-nRF24L01

Final Working and Testing

Once Code uploaded:

  • The transmitter reads temperature and humidity every 2 seconds.
  • The receiver gets the data and displays it on the OLED and Serial Monitor.
  • You can test the range indoors or outdoors to explore its full potential.
Applications of nRF24L01
  • Home automation
  • Wireless sensors
  • Remote-controlled robots.
In-depth Code and Project Tutorial : Interfacing nRF24L01 with Arduino UNO

Monday, 11 February 2019

Using Google Firebase with ESP8266 NodeMCU

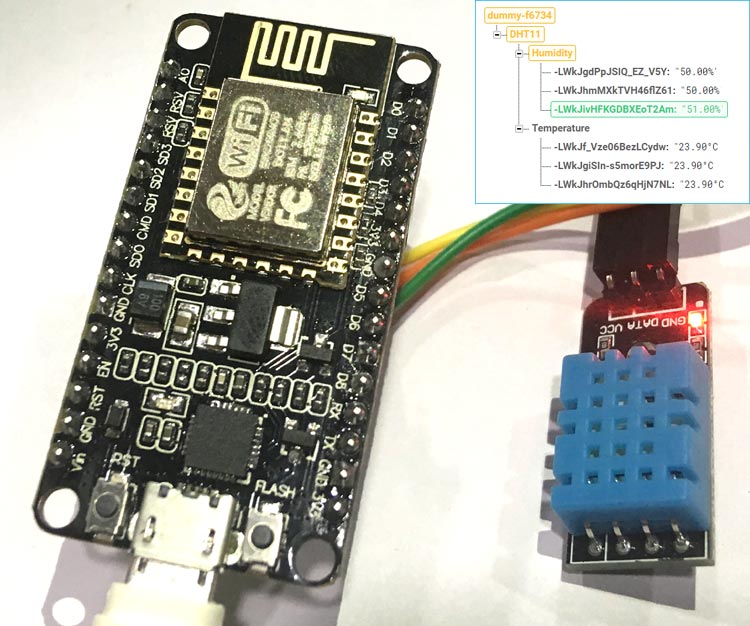
In this DIY project will be building a project where we’ll use a temperature & humidity sensor DHT11 and a NodeMCU ESP8266 Module to log the temperature and humidity in real time on Google’s Firebase database server.


The complete project is divided into two sections. First we start with assembling the hardware components and uploading firmware into it. And second, we will use Firebase to setup with NodeMCU to exchange real time data.

Find the complete project tutorial on circuit digest: https://circuitdigest.com/microcontroller-projects/sending-temperature-and-humidity-data-to-firebase-database-using-esp8266

Tuesday, 4 August 2015

Automatic Fan Speed Control according to Temperature


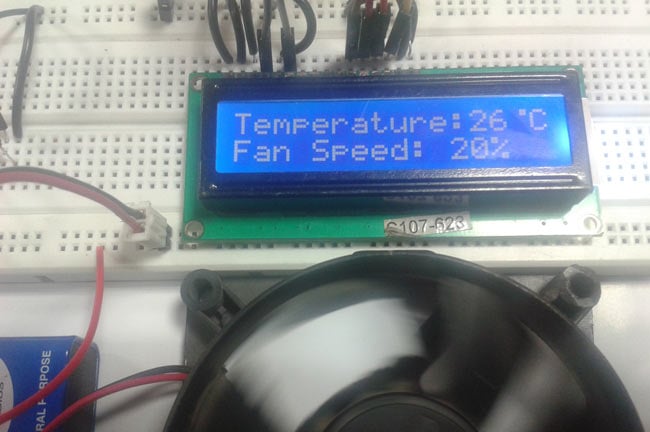
In this arduino based project, we are going to control DC fan speed according to the room temperature and show these parameter changes on a 16x2 LCD display. It is accomplished by the data communications between Arduino, LCD, DHT11 sensor Module and DC fan that is controlled by using PWM.

Video: