Showing posts with label Tech. Show all posts

Tuesday, 23 April 2024

The ADS1015: Enhancing Precision with I2C ADC Technology


The ADS1015 is a 12-bit ADC with I2C compatibility, featuring a low-drift voltage reference, oscillator for clock signal, programmable gain amplifier (PGA), and digital comparator for signal comparison. Equivalents and alternatives to the ADS1015 include the ADS1013, ADS1014, AD7791, HX711, MCP3008, ADS1115, ADC0804, MCP3301, and ADC0831.


Troubleshooting Tips for ADS1015:


Stability Issues and Noise: Ensure stable power supply within specified voltage range. Use a 0.1 µF capacitor between supply voltage pin and ground to filter out noise.

I2C Communication Problems: Double-check hardware connections. Ensure SDA and SCL pins are correctly connected to the microcontroller's I2C pins. Use I2C scanner program to detect device and address.

No Signal from ADS1015: Verify correct power supply voltage and current requirements. Check all connections including I2C lines, reference voltage inputs, and analog input signals. Use pull-up resistors on I2C lines if needed.


Design Tips for ADS1015:


Minimizing Noise with LTC2400: Use good decoupling by adding 0.1 µF capacitors close to the device. Place capacitors as close as possible to reduce noise.

Using ADS1015 without Microcontroller: ADS1015 requires a microcontroller due to its I2C communication interface.

PCB Layout Considerations:

  • Separate analog and digital signals to prevent noise interference.

  • Provide good ground return paths to minimize impedance and EMI.

  • Use bypass capacitors on supplies to reduce high-frequency noise. Avoid vias between bypass capacitors and the device.

  • Reduce resistance and inductance in routing to minimize error voltage and EMI pickup.

  • Match differential inputs and use high-quality differential capacitors for accurate measurements.


Designing with ADS1015 requires careful consideration of layout and component placement to achieve optimal performance and minimize noise and interference. For more technical details, refer to the ADS1015 datasheet.


Thursday, 11 April 2024

Build Your Own Fire Fighting Robot with Arduino: A Step-by-Step Guide

 Fires can be devastating, but with advancements in robotics, we can create innovative solutions like the Fire Fighting Robot using Arduino. In this guide, we'll show you how to build a Fire Fighting Robot using simple components and Arduino. This project is a great starting point for anyone interested in robotics and automation.


What You'll Need


Gather these materials to get started:

  • Arduino UNO

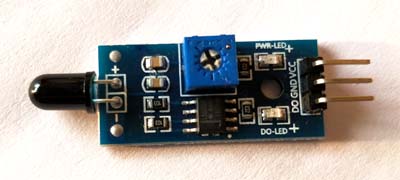
  • Fire or Flame sensors (3)

  • SG90 Servo Motor

  • L293D Motor Driver module

  • Mini DC Submersible Pump

  • Small Breadboard

  • Robot chassis with motors and wheels

  • Small can (for water container)

  • Connecting wires


How the Fire Fighting Robot Works


Our robot uses Arduino and flame sensors to detect fires. When it senses a fire, it calculates the fire's direction using sensor data and moves towards it with motor control. Once close to the fire, the robot activates a mini water pump mounted on a servo motor to spray water and extinguish the flames.


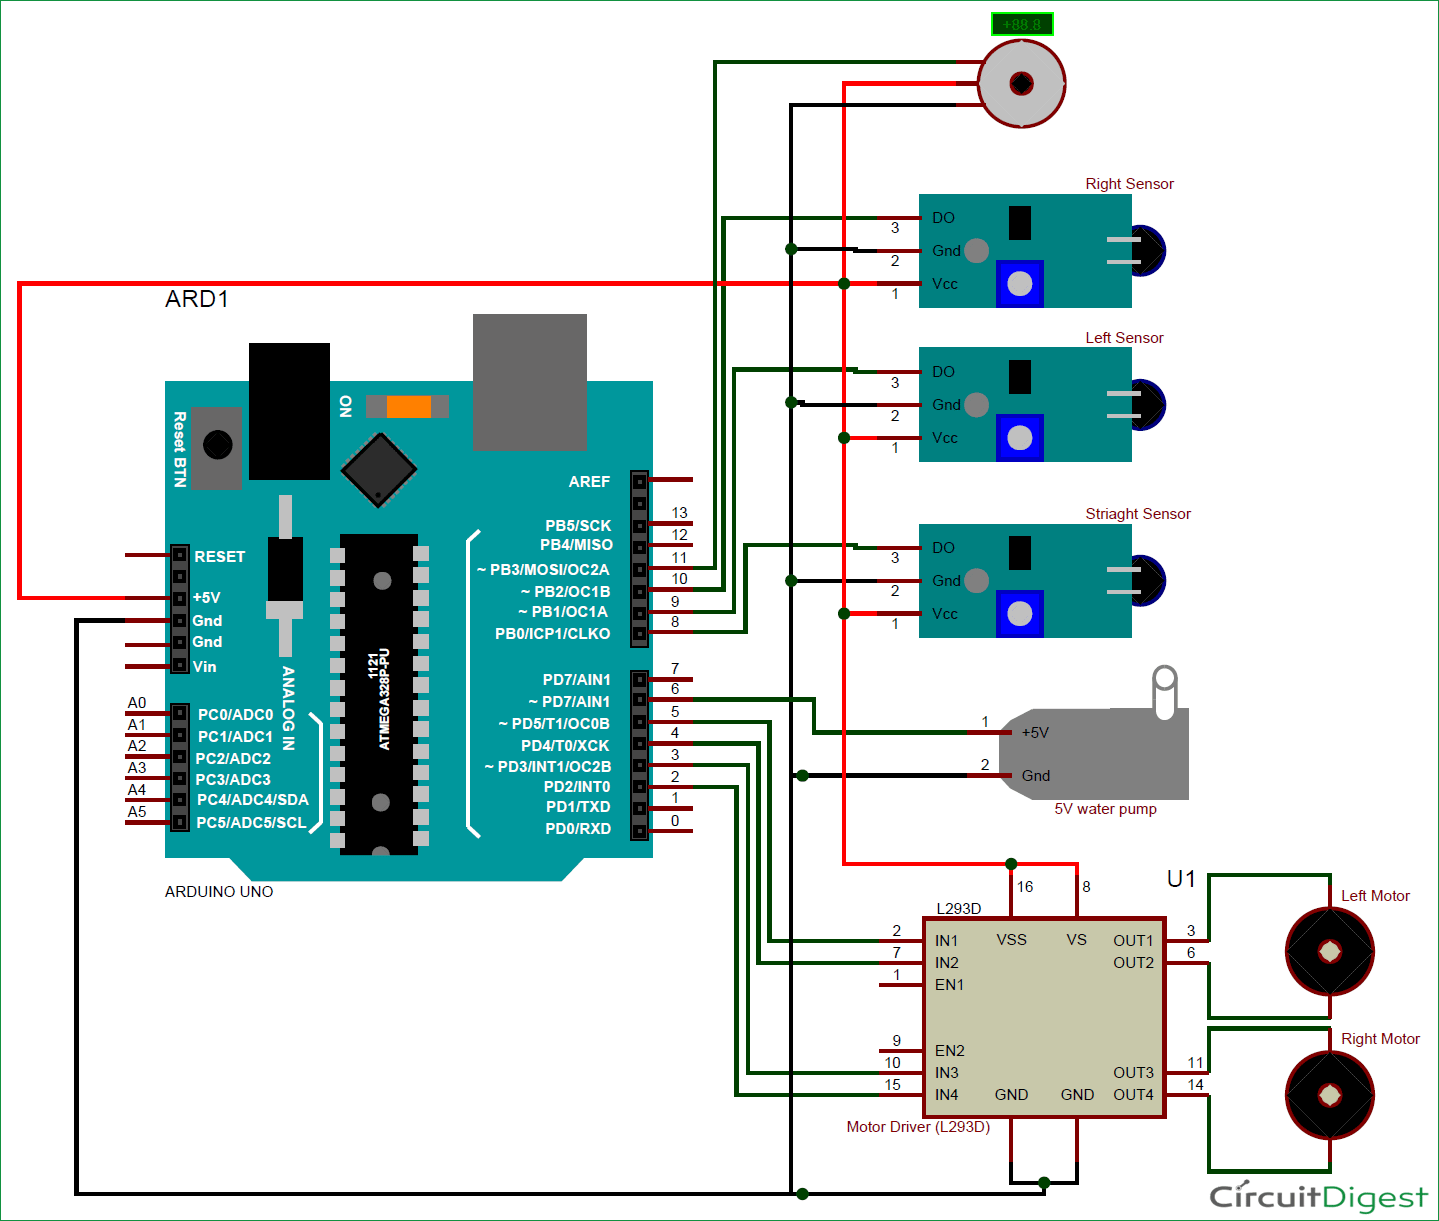
Follow the circuit diagram to assemble your Fire Fighting Robot. The connections are simple and can be adjusted based on your specific robot chassis and pump setup.


Use the provided Arduino code to control the robot's movements and water spraying. Customize the code to fine-tune the robot's behavior based on your preferences.


Testing and Deployment


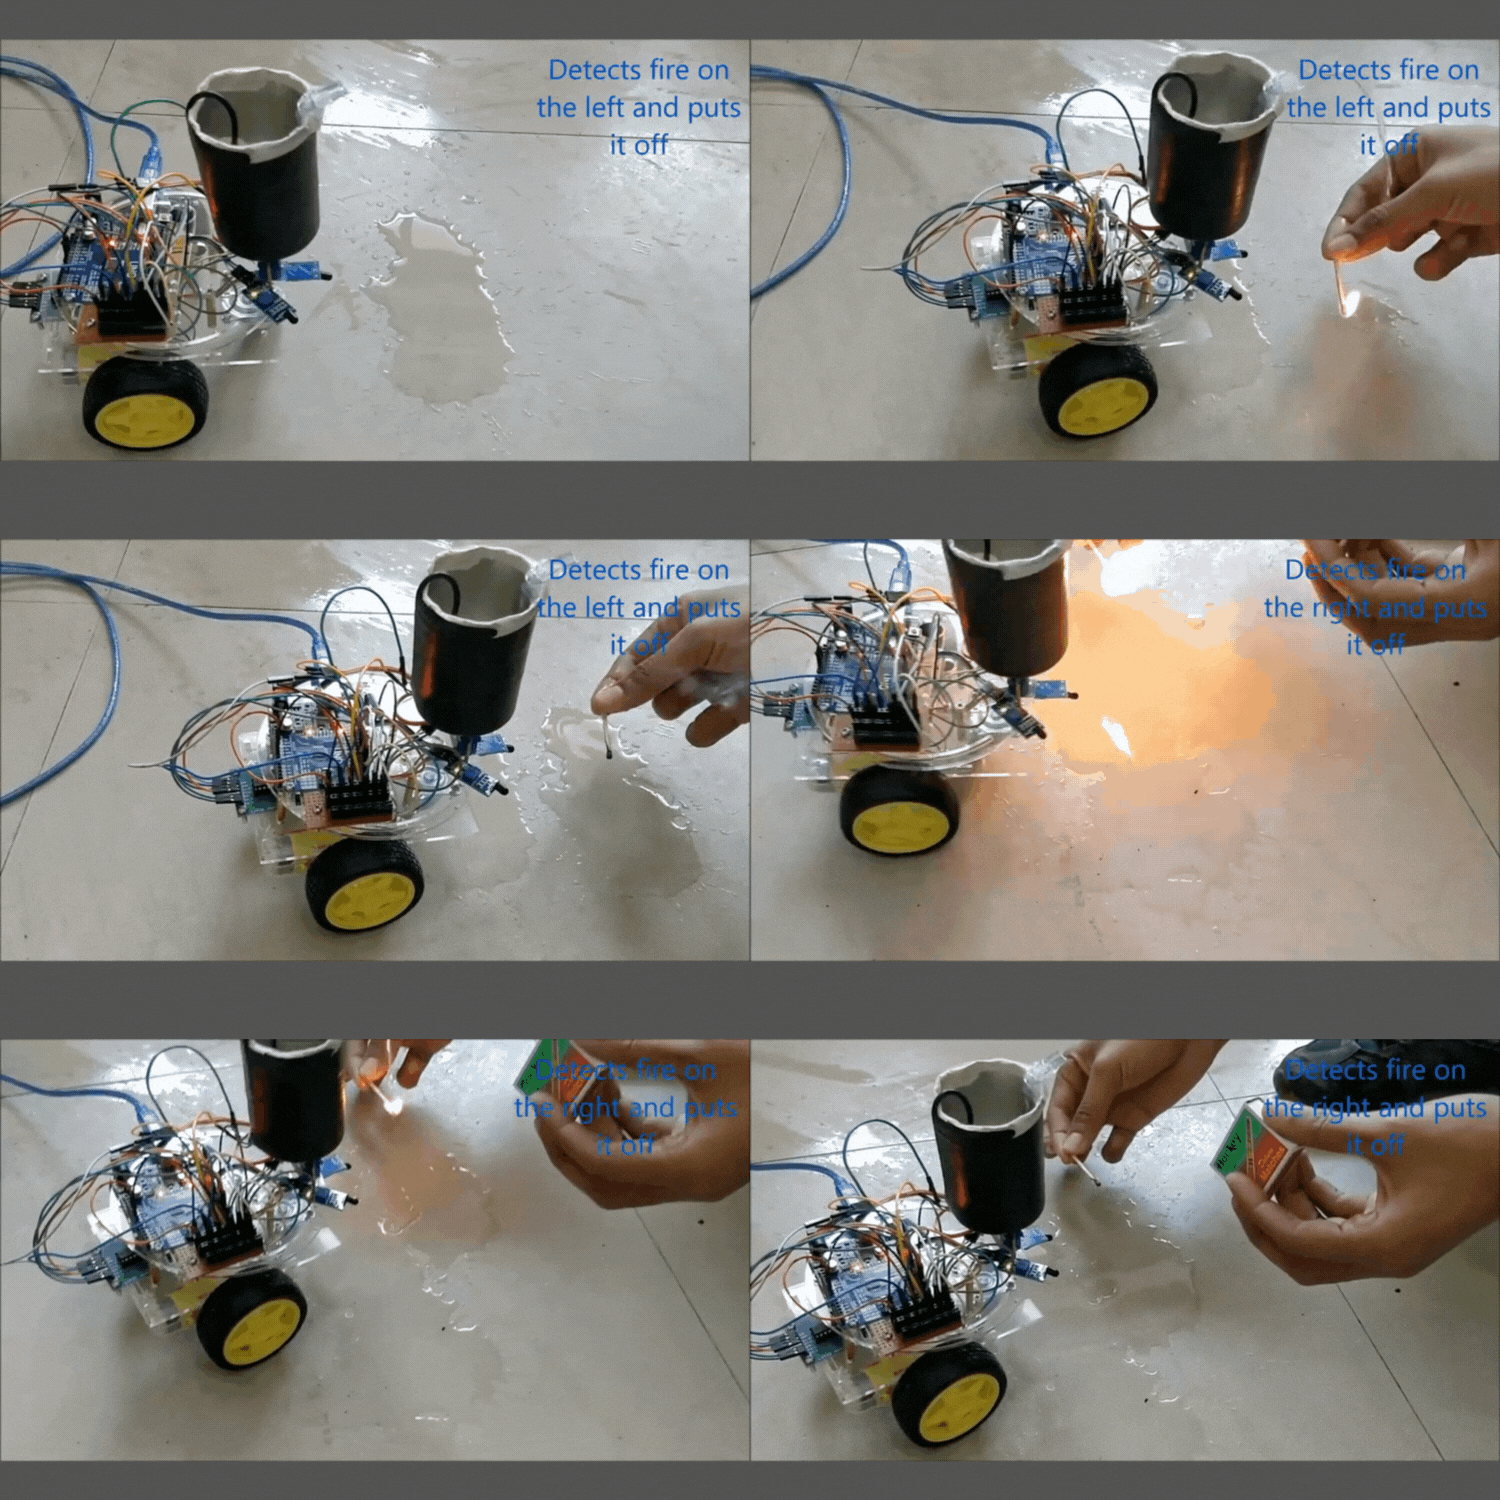
Before putting your robot to work, test each component to ensure everything functions correctly. Once assembled, watch as your robot detects fires and springs into action to extinguish them with precision.


Conclusion


Building a Fire Fighting Robot with Arduino is not just a fun project—it's a meaningful introduction to the world of robotics. Let's use technology to improve safety and protect lives from the dangers of fire.


Explore more robotics projects and share your experiences in the comments or forums.