Showing posts with label TechTips. Show all posts

Sunday, 14 April 2024

Choosing the Right Battery Charging IC: A Simple Guide for Your Projects


Selecting the appropriate battery charging IC is essential for maximizing the performance and durability of battery-powered devices. Whether you're working on DIY electronics or developing commercial products, understanding how to pick the right
battery charging IC can make a significant difference. Let's dive into a detailed guide to help you navigate this crucial aspect of electronics design.

Why Battery Charging ICs Matter


Battery charging ICs are responsible for managing the charging process of rechargeable batteries, ensuring they are charged safely and efficiently. By selecting the right IC, you can optimize the charging speed, protect against potential risks like overcharging or overheating, and extend the lifespan of your batteries.


Key Factors to Consider


  • Battery Type Compatibility: Start by identifying the type of battery you intend to charge, such as lithium-ion, lithium polymer, or NiMH. Different battery chemistries have specific charging requirements, and your IC should support these needs.

  • Charging Voltage and Current: Determine the ideal charging voltage and current specifications for your battery. The charging IC must provide the necessary levels to suit your battery's charging profile without causing damage.

  • Charging Speed: Evaluate the charging speed supported by the IC. While faster charging is desirable, it should be balanced with considerations for battery safety and longevity.

  • Input Power Source: Consider the power source available for charging, such as USB ports or AC adapters. Ensure that the charging IC is compatible with the input voltage and current ratings of your power source.

  • Safety Features: Look for built-in safety features like overcharge protection, over-discharge protection, thermal regulation, and short-circuit protection. These features are crucial for safeguarding both the battery and the charging circuit.

  • Size and Package Type: Check the physical dimensions and package type of the IC, especially if space is limited in your device. Common package types include QFN, DFN, and BGA.

  • Additional Features: Explore extra features offered by the IC, such as charging status indicators, battery temperature monitoring, and programmable charging profiles. These features can enhance charging performance and user experience.


How to Choose


  1. Research and Specifications: Start by researching the specifications and requirements of your battery and device. Understand the charging parameters needed for optimal performance.

  2. Comparison: Compare different battery charging ICs based on the identified criteria. Refer to datasheets and application notes from manufacturers for detailed information.

  3. Evaluation and Testing: If possible, prototype and test the selected ICs under real-world conditions to assess factors like charging efficiency and reliability.

  4. Feedback and Reviews: Seek insights from industry experts, forums, and user reviews to gather practical feedback on specific IC models.


By following this structured approach and considering important factors like battery type, charging specifications, safety features, and additional functionalities, you can confidently select the right battery charging IC for your electronic projects. This thoughtful decision-making process will ensure optimal battery performance and device reliability, ultimately enhancing the overall user experience.


Choosing the right battery charging IC requires careful consideration of various factors, but it's a critical step in the design process. By prioritizing safety, efficiency, and compatibility, you can create battery-powered devices that deliver outstanding performance and durability. Whether you're a hobbyist or a professional, mastering the art of selecting the right IC will elevate your electronics projects to the next level.

Sunday, 7 April 2024

Troubleshooting Guide: Interfacing SIM800L with Arduino

If you've ever worked with the SIM800L module (Arduino GSM), you know it's a versatile tool for a variety of projects, from making calls to sending SMS and accessing the internet via GPRS. However, like any tech, it has its quirks. In this article, we'll guide you through interfacing the SIM800L with Arduino and offer troubleshooting tips to ensure smooth operation. Plus, we'll touch on our experience with the SIM800L on ESP32 if you're curious.


Understanding SIM800L Module Pinout:

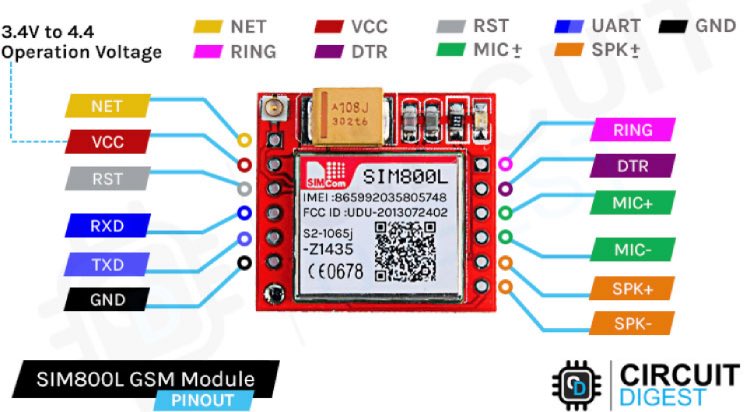
The SIM800L module, a GSM/GPRS module, features various pins serving distinct functions critical for its operation. Among these pins, VCC provides the power supply, while GND serves as the ground connection. TX and RX facilitate data transmission and reception, enabling communication with other devices. Understanding the pinout is essential for correctly connecting the module to other components in the system.


Powering the SIM800L GSM Module:

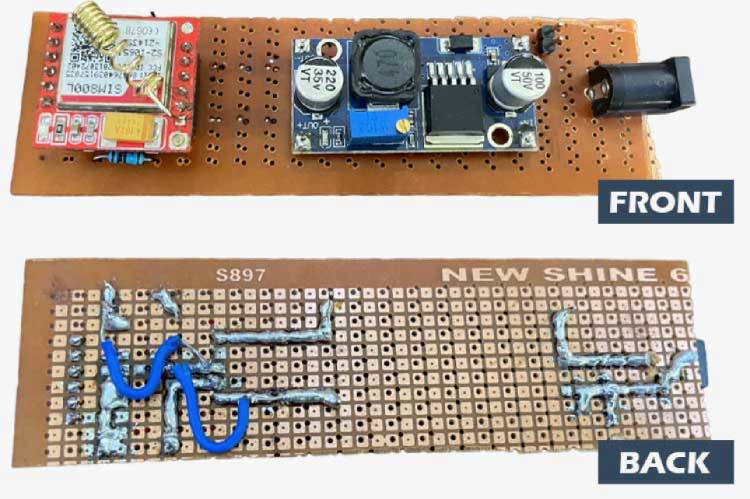
Powering the SIM800L module requires a stable power supply within the range of 3.7V to 4.2V. Achieving this can be accomplished using a buck converter with a minimum current capacity of 2A or a 3.7V Li-ion battery. Additionally, adding a capacitor between VCC and GND can enhance power stability, although it's not mandatory for basic functionality.


Interfacing SIM800L with Arduino UNO:

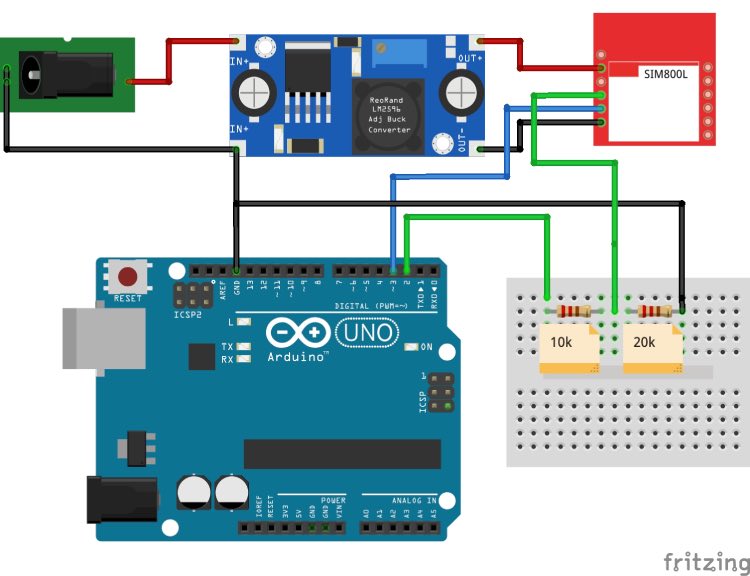
Interfacing the SIM800L with an Arduino UNO necessitates addressing voltage compatibility issues. While the SIM800L operates at 3.3V, the Arduino UNO internally operates at 5V. To bridge this voltage discrepancy safely, a voltage divider calculator is typically employed, utilizing resistors to generate a 3.3V signal from the Arduino's 5V output.


Troubleshooting SIM800L Issues:

Common issues encountered with the SIM800L module include challenges with SIM card detection and network connectivity. The LED indicators on the module offer valuable insights, such as network status, aiding in the troubleshooting process. Steps for troubleshooting involve verifying correct SIM card insertion, ensuring a stable power supply, and checking for adequate network coverage.


SIM800L AT Command Testing:

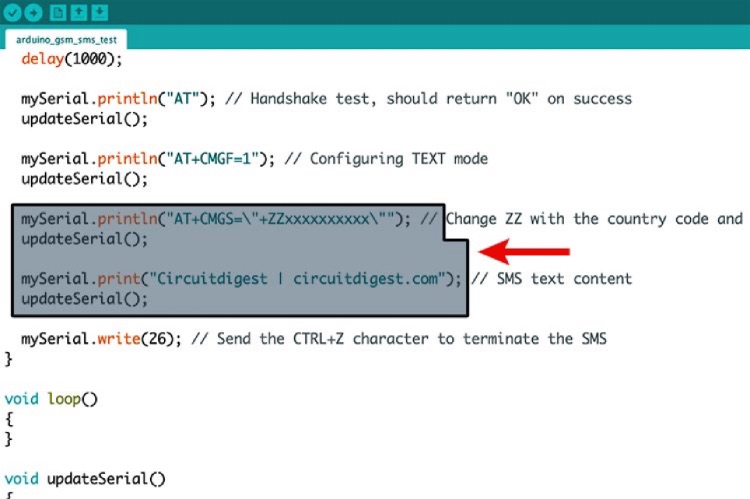
AT commands are instrumental in communicating with the SIM800L module and executing various functions. By uploading an SIM800L AT command test program to the Arduino, direct communication with the module is established. Sending AT commands and interpreting the responses allows for the verification of the module's responsiveness and functionality.


Sending SMS and Making Calls:

Upon confirming the responsiveness of the SIM800L module, exploring its features such as sending SMS and making calls becomes feasible. Sample Arduino code is available for executing these actions, accompanied by detailed explanations of each step in the process. These functionalities broaden the scope of potential applications, enabling communication capabilities within projects.


Conclusion:

Mastering the intricacies of the SIM800L module empowers individuals to leverage its capabilities effectively in various projects. Understanding the module's pinout, power requirements, and troubleshooting techniques facilitates overcoming challenges that may arise during implementation. Furthermore, exploring additional projects, such as SMS-based vehicle tracking and forest fire warning systems, fosters ongoing learning and innovation in utilizing the SIM800L module.