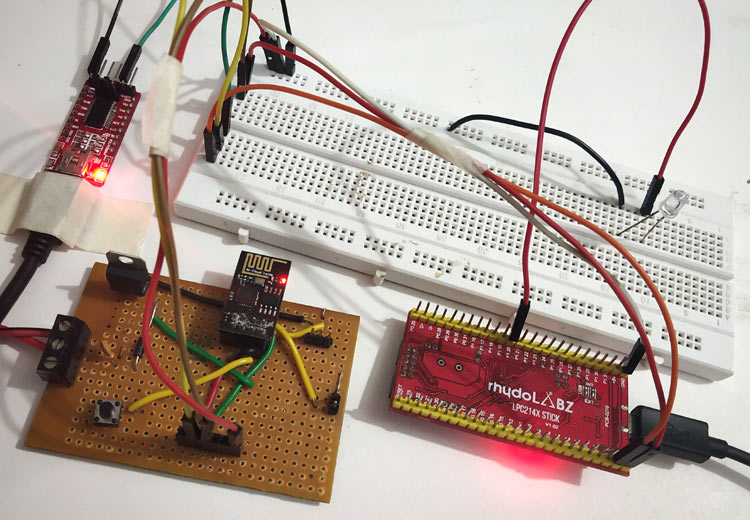
ESP8266 Wi-Fi transceiver provides a way to connect a microcontroller to the network. It is widely used in IoT projects as it is cheap, tiny and easy to use. This WiFi module can be used with any microcontroller to connect it with internet. In some of the following tutorials, it is used with Arduino and Raspberry pi, to create webserver such as Raspberry webserver and Arduino webserver.

To interface an ESP8266 Module with the ARM7-LPC2148 microcontroller and create a webserver to control the LED connected to LPC2148. The workflow will go like this:
- Send AT commands from LPC2148 to ESP8266 to configure ESP8266 in AP mode
- Connect the laptop or computer Wi-Fi with the ESP8266 Access point
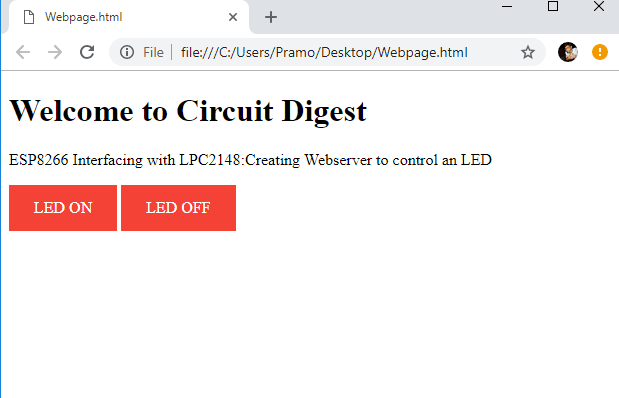
- Create a HTML webpage in PC with Access point IP address of the ESP8266 webserver
- Create a program for LPC2148 to control the LED according to the value received from ESP8266

If you are completely new to ESP8266 Wi-Fi module visit the below links to get familiar with ESP8266 Wi-Fi module.
Getting Started with ESP8266 Wi-Fi Transceiver (Part 1)
Getting Started with ESP8266 (Part 2): Using AT Commands
Getting Started with ESP8266 (Part 3): Programming ESP8266 with Arduino IDE and Flashing its Memory
Getting Started with ESP8266 (Part 2): Using AT Commands
Getting Started with ESP8266 (Part 3): Programming ESP8266 with Arduino IDE and Flashing its Memory
You can check the complete tutorial to interface ESP8266 module with LPC2148: https://circuitdigest.com/microcontroller-projects/iot-based-ARM7-LPC2148-webserver-to-control-an-led
No comments:
Post a Comment