Saturday, 23 September 2017

Automatic Street Light Controller Circuit

This simple circuit uses a LDR sensor to detector the presence of light and turns on or off the street lights accordingly. A demonstration of the project is done on the breadboard as shown below
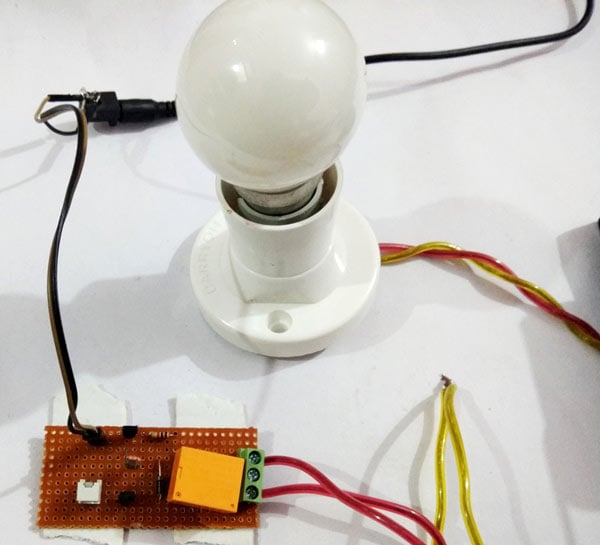
Automatic Street Light Controller Circuit Using Relay and LDR

This circuit mainly uses an LDR and Relay along with few other commonly used electronics components such as BC547 transistor, resistors, 1N4007 diode etc.

You can find the circuit diagram and necessary details to DIY this circuit on the following link: Street light controller circuit

Demonstration video for the project is shown below:


Tuesday, 19 September 2017

Simple Arduino Voltmeter

With a simple knowledge of Arduino and Voltage Divider Circuit, we can turn the Arduino into Digital Voltmeter and can measure the input voltage using Arduino and a 16x2 LCD display.

Simple Arduino Digital Voltmeter

The circuit diagram which is used to build this arduino based voltmeter is given below. You can connect the arduino and other components as per the diagram.

Simple Arduino Digital Voltmeter Circuit

Once all the components are connected you can write the code for Arduino. Here is the link given from where you can download the arduino code for voltmeter.

Thursday, 31 August 2017

RF Transmitter and Receiver

RF Transmitter and Receiver Circuit

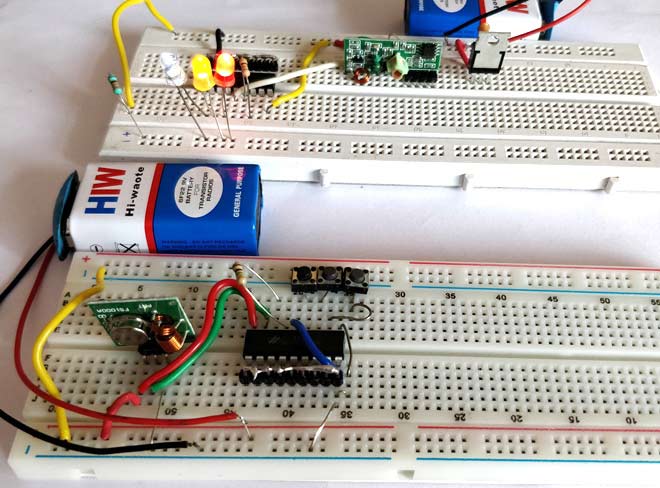
Making our projects Wireless always makes it to look cool and also extends the range in which it can be controlled. Starting from using a normal IR LED for short distance wireless control till an ESP8266 for worldwide HTTP control there are lots of ways to control something wirelessly. In this project we will learn how we can build wireless projects using a 433 MHz RF module. These modules are cheap for its functions and are easily available.


Here we will learn the basics of RF module and how to use it as a standalone RF Transmitter and Receiver. Here we have explained the RF Transmitter and Receiver Circuit by controlling the LEDs wirelessly using RF.

Friday, 25 August 2017

DIY Cheap MP3 Player

In this tutorial we will learn how to build a simple yet powerful MP3 player that could play any MP3 song, the volume and track can also be adjusted with the help of push buttons. With some extra effort you can build your own pocket MP3 Music player and take it with you on the go.

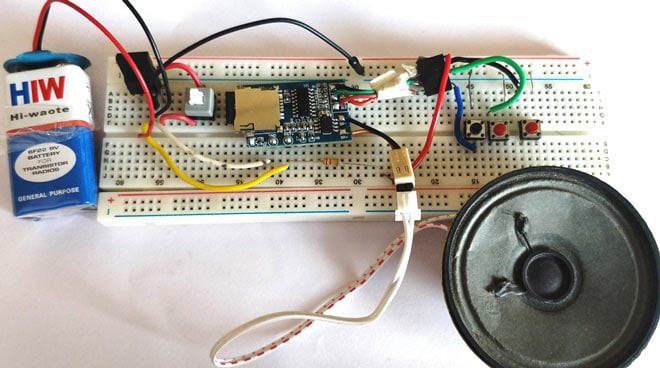
Here is the breadboard setup of this mp3 player circuit

DIY MP3 Music Player Circuit

Below are the list of required components to build this music player:


  • GPD2846 MP3 player Module 
  • 3 Push Buttons 
  • 3.3V Voltage regulator 
  • On/off button 
  • Speaker 
  • Breadboard 
  • Connecting wires 
  • 220K resistor 
  • Soldering kit

Below video demonstrates the working of this mp3 player.


Thursday, 17 August 2017

DIY Power Bank

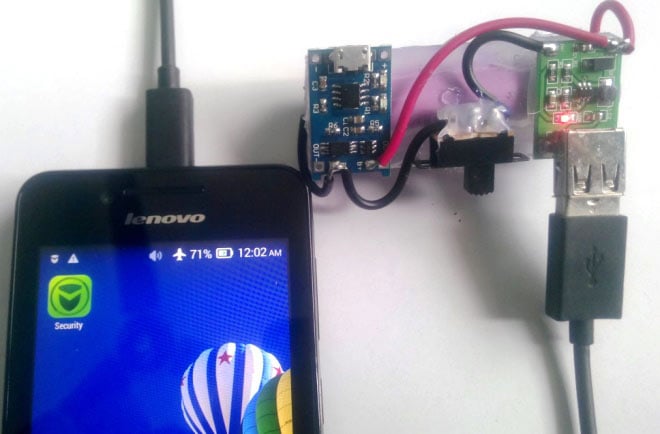
You can make your own power bank with the help of a li-ion battery, TP4056 Module and a boost converter. This portable power bank can charger your cell phone with USB cable. Here is the demonstration pic:

DIY Portable Power Bank Circuit to Charge Your Cell Phone

You can see the components in demo pic and charging the phone by using it.

Check out the link for the complete DIY instructions to build this power bank, along with a circuit diagram and connections: DIY Power Bank

Monday, 14 August 2017

Biometric Attendance System using Arduino

There are many kinds of attendance systems are popular such RFID based attendance systems. With latest technologies there are many kind of sensors which can effectively identify a person based on their biometric featues, such as fingerprints or retina. In this project we have built a fingerprint sensor based attendance system which will make the attendance  based on the matching of fingerprints.

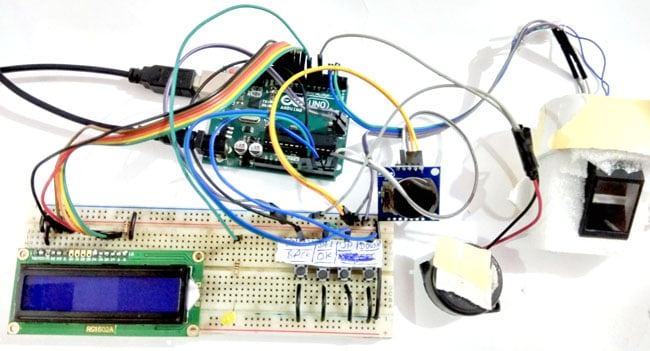
Fingerprint Attendance System Project using Arduino

As shown in the above breadboard setup it uses a fingerprint sensor, LCD, buzzer, input buttons which are useful to give input and display output. To get the circuit connections for this project and complete arduino code, visit the link below which will redirect to the project page on circuitdigest.com

Fingerprint based Attendance System

Monday, 31 July 2017

3 Basic Electronics Circuits to Learn Electronics

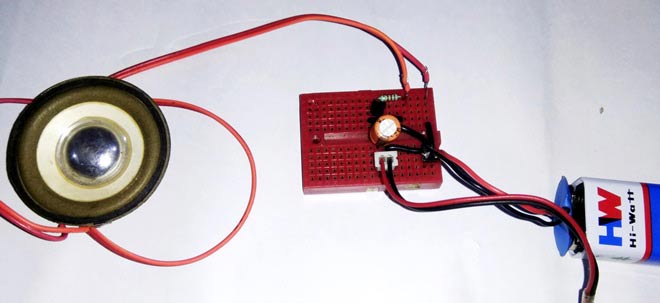
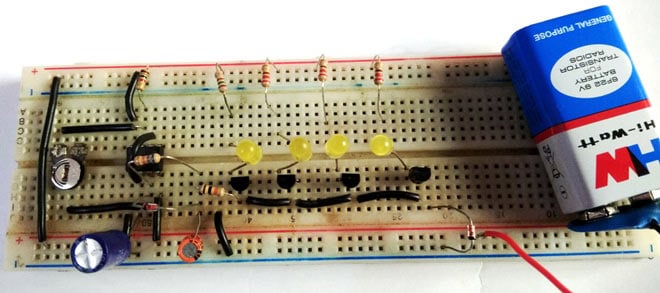
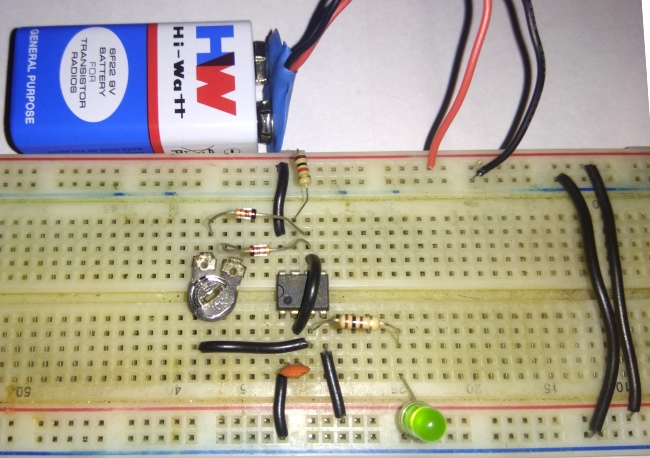
Here are 3 simple electronic circuits by using basic electronic components.

1. Simple Preamp Circuit


"Sometimes we use a Preamp Circuit in circuits for pre-amplification of weak signal when the audio source sound level is too low. Pre-amlification of low level signals is necessary before feeding them into a power source, for clear and noiseless sound." So here we will build this Simple Preamplifier Circuit using NPN transistor BC547.

2. Bike Turning Signal


This fancy Car/Bike Turning Indicator Circuit uses a 555 Timer IC along with four yellow color LEDs glowing one by one in a particular pattern and we can control the speed or frequency of this LED indicator by simply turning a Potentiometer. This works in the similar pattern in which bike or car's turning signal works. Here you can find all the required details to build this circuit.

3. PWM Generator Circuit


PWM is very important concept in electronics engineering. To understand this concept and make a simple circuit with this, we used a 555 timer IC along with a potentiometer, a capacitor and few registers which generates PWM signal. You can learn about PWM concept with building this basic circuit.