With a simple knowledge of Arduino and Voltage Divider Circuit, we can turn the Arduino into Digital Voltmeter and can measure the input voltage using Arduino and a 16x2 LCD display.
The circuit diagram which is used to build this arduino based voltmeter is given below. You can connect the arduino and other components as per the diagram.
Once all the components are connected you can write the code for Arduino. Here is the link given from where you can download the arduino code for voltmeter.
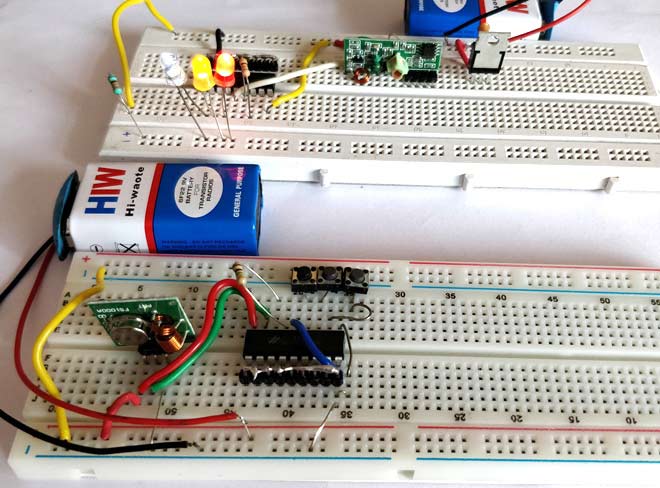
Making our projects Wireless always makes it to look cool and also extends the range in which it can be controlled. Starting from using a normal IR LED for short distance wireless control till an ESP8266 for worldwide HTTP control there are lots of ways to control something wirelessly. In this project we will learn how we can build wireless projects using a 433 MHz RF module. These modules are cheap for its functions and are easily available.
Here we will learn the basics of RF module and how to use it as a standalone RF Transmitter and Receiver. Here we have explained the RF Transmitter and Receiver Circuit by controlling the LEDs wirelessly using RF.
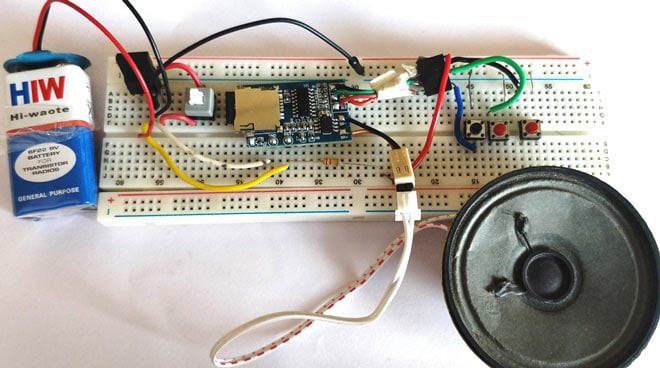
In this tutorial we will learn how to build a simple yet powerful MP3 player that could play any MP3 song, the volume and track can also be adjusted with the help of push buttons. With some extra effort you can build your own pocket MP3 Music player and take it with you on the go.
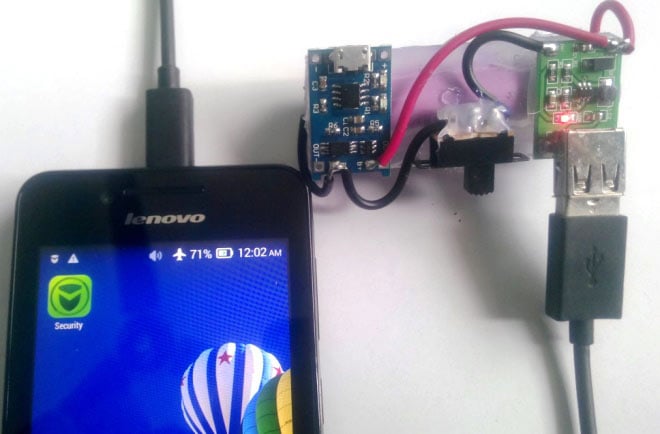
You can make your own power bank with the help of a li-ion battery, TP4056 Module and a boost converter. This portable power bank can charger your cell phone with USB cable. Here is the demonstration pic:
You can see the components in demo pic and charging the phone by using it.
Check out the link for the complete DIY instructions to build this power bank, along with a circuit diagram and connections: DIY Power Bank
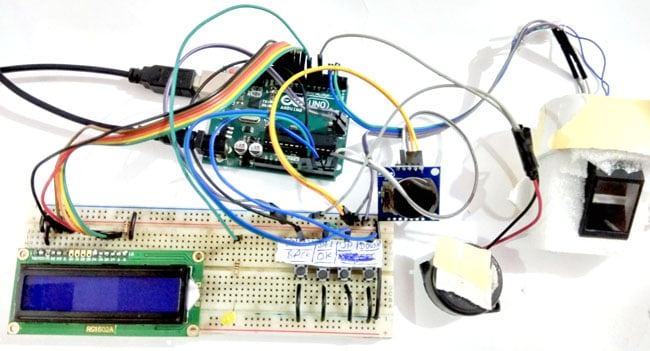
There are many kinds of attendance systems are popular such RFID based attendance systems. With latest technologies there are many kind of sensors which can effectively identify a person based on their biometric featues, such as fingerprints or retina. In this project we have built a fingerprint sensor based attendance system which will make the attendance based on the matching of fingerprints.
As shown in the above breadboard setup it uses a fingerprint sensor, LCD, buzzer, input buttons which are useful to give input and display output. To get the circuit connections for this project and complete arduino code, visit the link below which will redirect to the project page on circuitdigest.com
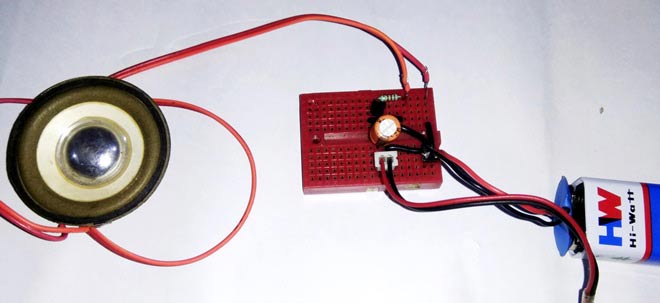
Here are 3 simple electronic circuits by using basic electronic components. 1. Simple Preamp Circuit
"Sometimes we use a Preamp Circuit in circuits for pre-amplification of weak signal when the audio source sound level is too low. Pre-amlification of low level signals is necessary before feeding them into a power source, for clear and noiseless sound." So here we will build this Simple Preamplifier Circuit using NPN transistor BC547.
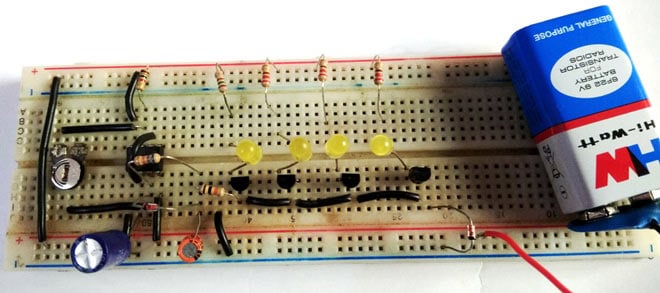
2. Bike Turning Signal
This fancy Car/Bike Turning Indicator Circuit uses a 555 Timer IC along with four yellow color LEDs glowing one by one in a particular pattern and we can control the speed or frequency of this LED indicator by simply turning a Potentiometer. This works in the similar pattern in which bike or car's turning signal works. Here you can find all the required details to build this circuit.
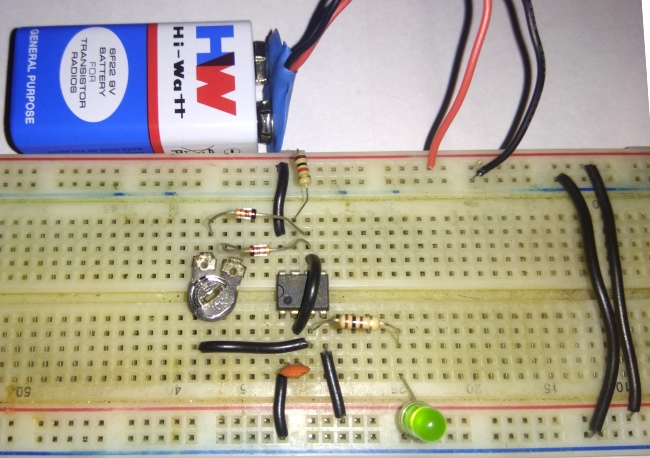
3. PWM Generator Circuit
PWM is very important concept in electronics engineering. To understand this concept and make a simple circuit with this, we used a 555 timer IC along with a potentiometer, a capacitor and few registers which generates PWM signal. You can learn about PWM concept with building this basic circuit.
This is a simple arduino based project where an Arduino shield is designed on PCB which uses an Accelerometer ADXL335 to detect the vibrations. When the accelerometer detects the vibrations it sends signal to Arduino Uno which in turn start the alarm.
ESP8266 is a popular microcontroller cum WiFi transceiver popularly used to connect Arduino and other microcontrollers with internet. In this DIY project, ESP is used with just few components and IFTTT online service to send text messages to any mobile phone.
This is another interesting application using ESP8266 to control home appliances using just voice commands. For this, they have used an android app to give pre-set voice commands. To build this project, check out the full project in the link given above.
The working of this project is demonstrated in the youtube video attached below:
Circuit breaker is an important requirement to protect your electrical devices from high/low voltages. It doesn't use any microcontroller and merely use an op-amp IC and voltage regulator. You can build your own circuit breaker by using the details shared in this project.
Buying a digital voltmeter or a multimeter is not a big deal but making one yourself is surely a good learning experience. Here you can find a voltmeter using ICL7107 which is quite popular for measuring voltage. They have built the entire circuit on PCB so you can just use the PCB layout and simply or a PCB or make one yourself.
Check the demonstration video below:
6. Real Time Face Detecting Robot:
This is an interesting arduino project where they have developed an algorithm which detects the human face from any image. Along with arduino, processing is used and also a 3D printed robotic arm to hold the phone. You can download the STL files for the 3D printed part, and also the required code for processing and arduino, so it would be quite easy to build this interesting project.
7. SSD1306 OLED with Arduino
OLED displays are very useful and they also look beautiful in comparison with other displays such as 16x2 LCD. This is nice detailed tutorial which covers details on interfacing the OLED with arduino uno with an example of displaying a batman picture on the OLED.
Arduino is a very powerful tool to build a lot of things. Here they built an Audio player which reads the song files from a SD card and play them on the speaker attached to it. To improve the voice quality there is an audio amplifier IC also used with the circuit.
Popular SIM900A GSM module is used here with arduino to send data to SparkFun's server. GPRS feature of GSM module is used here. See the working of this project in below video:
In this tutorial they simply explained to use Arduinos tone function to create various melodies on a speaker connected with Arduino uno board. You can download the code and play various tones such as Titanic, Super Mario, etc.