Sunday, 16 April 2017

DIY Arduino Based Radar System


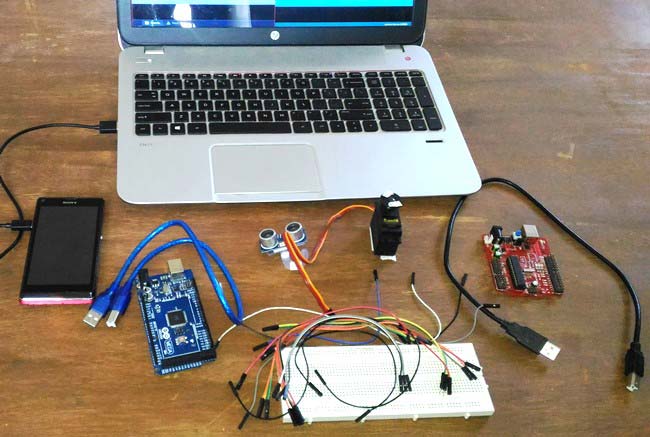
In this project we are using Arduino and ultrasonic sensor to broadcast information to a cell phone via bluetooth.  It senses objects with the help of Ultrasonic Sensor and hence can work even during night times. Ultrasonic sensor is attached with a servo motor which can be either be set to rotate automatically to scan the area or can be rotated manually using our Mobile app, so that we can focus the ultrasonic sensor in our required direction and sense the objects present over there. The information sensed by the sensor will be broadcasted to the cell phone using Bluetooth Module so it will work like a Sonar or a Radar.

If you want to make this project, you can find here the detailed DIY instructions with required circuit diagrams and source codes.

To see the project in working, check out the youtube video below:

Thursday, 23 March 2017

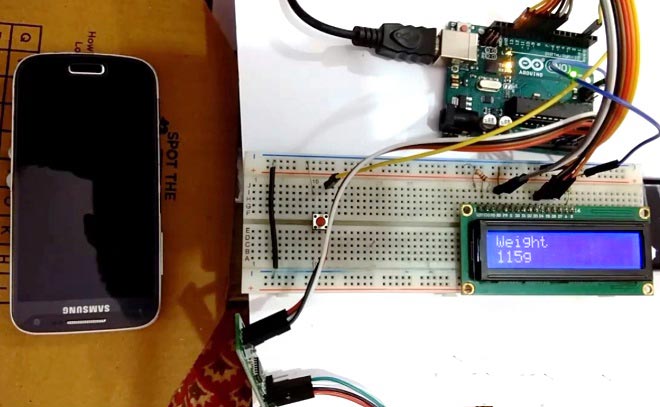
DIY Weight Measurement using Arduino


In this DIY project we have built a weighing machine by interfacing Load Cell and HX711 Weight Sensor with Arduino. We have seen weight machines at many shops, where machine displays the weight just by placing any item on the weighing platform. So here we are building the same Weighing machine by using Arduino and Load cells, having capacity of measuring upto 40kg. This limit can be further increased by using the Load cell of higher capacity.

Watch the demonstration video below to see the project working:


You can DIY this project by using the source codes and instructions given on circuitdigest.com

Tuesday, 21 February 2017

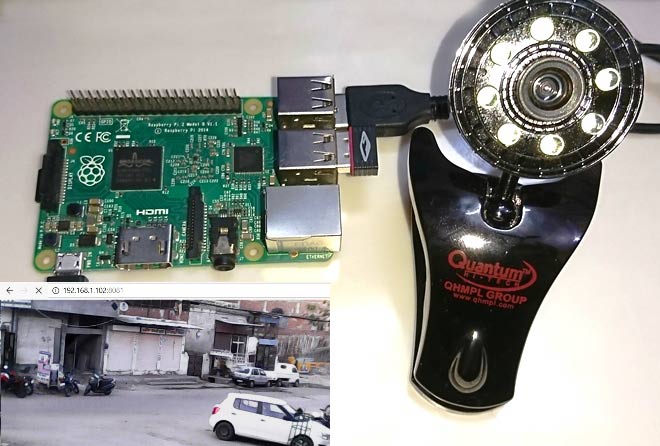
Surveillance Camera using Raspberry and Webcam

This DIY talks about building a simple security system using Raspberry Pi and webcam which captures motion in the area. This is a great and very cheaper security tool, which have many configurable options and can be built in few minutes. Here we are using only Raspberry Pi and a USB web camera to build this Motion Capture camera. We have Raspbian Jessie OS installed on our Raspberry Pi board.


Here is the step by step guide to turn your raspberry pi into a security camera.

Sunday, 15 January 2017

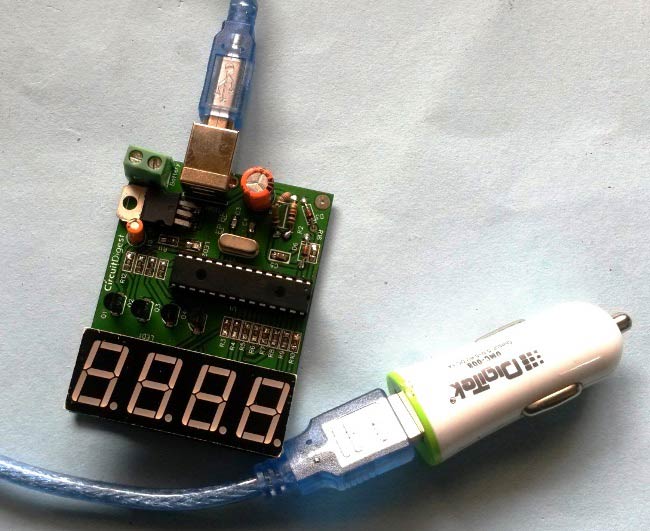
Car Battery Voltage Monitoring using PIC Microcontroller


In this project we are going to make a PIC based Car Battery Monitoring system on PCB. Here, we have designed a PCB using EASYEDA online PCB simulator and designer. This Car Battery Monitoring Circuit is used to monitor the power of Car Battery by just plugging it into the power outlet on the dashboard of a car. The PCB also has the option to use it as Voltage Measurement tool or Voltmeter without using USB car charger. We have attached a terminal block here to measure the voltage of other power sources, just by connecting two wires in it from the power source. 

Friday, 6 January 2017

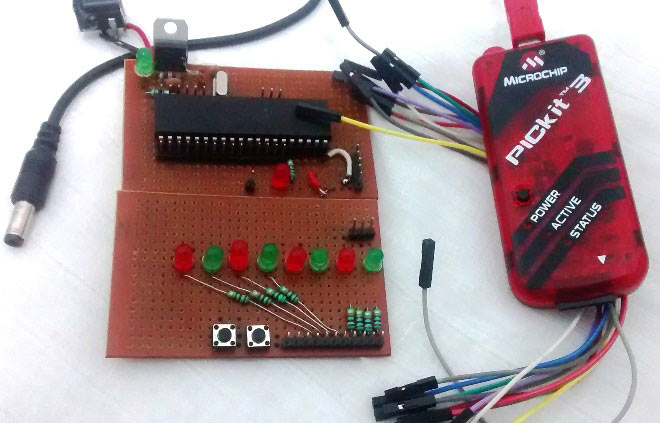
PIC Microcontroller Tutorial: Learn about Timers

In this PIC microcontroller tutorial series, this tutorial will help you to learn and use Timers in PIC16F877A. In our previous tutorials, we had started with Introduction to PIC and MPLABX IDE, then we wrote our first PIC program to blink the LED using PIC and then made a LED Blinking Sequence by using delay function in PIC Microcontroller. Now let us use the same LED Blinking sequence which we have used in previous tutorial hardware and with this we will Learn How to use Timers in our PIC MCU. We have just added one more button in LED board for this tutorial. Go through the tutorial to learn more.

To learn more about the basic concepts of PIC microcontrollers, and get some interesting DIY projects, keep visiting www.circuitdigest.com 

Thursday, 22 December 2016

Arduino Plant Irrigation System

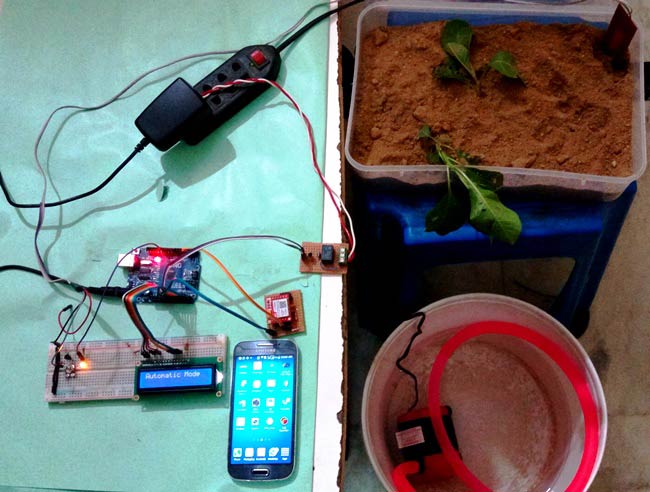
This interesting arduino based project automatically provides water to your plants and keep you updated by sending message to your cell phone.


Here we have used a soil moisture sensor, which checks the moisture level in the soil and if moisture level is low then Arduino switches On a water pump to provide water to the plant. Water pump gets automatically off when system finds enough moisture in the soil. Whenever system switched On or off the pump, a message is sent to the user via GSM module, updating the status of water pump and soil moisture. You can see the working of this project in below video:


This system could be very effective and useful to automate irrigation in Farms, gardens, home etc. It is completely automated and there is no need for any human intervention. To DIY this project check out this tutorial on CircuitDigest.com

Tuesday, 20 December 2016

DIY Arduino based Robotic Arm

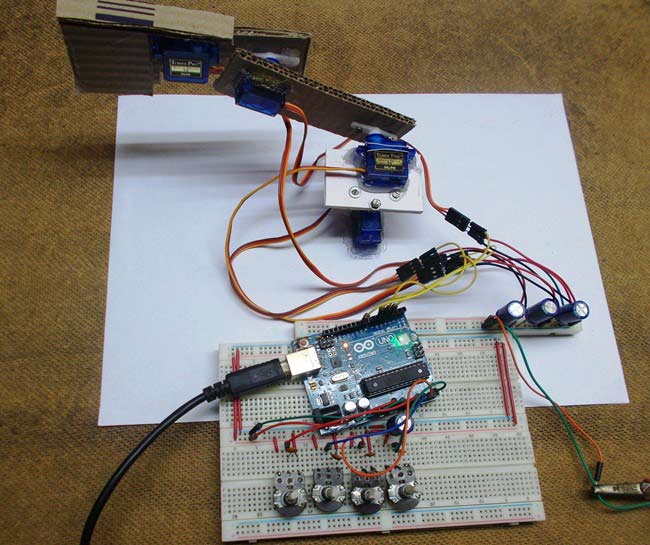
This DIY tutorial talks about creating a simple Arduino based Robotic Arm. This complete robotic arm will be designed from scratch. Entire process of construction has been explained in detail below. The arm has been built with cardboards and the individual parts have been locked to servo motors. Arduino Uno is programmed to control servo motors. Servos are serving as joints of Robotic arm here. Have a look to final setup of entire project.


Low torque servo motors are used here but you can use more powerful servos to pick heavy object. The whole process has been well demonstrated in the below video.