Tuesday, 7 June 2016

Temperature Measurement using Raspberry Pi

Room Temperature Measurement with Raspberry Pi

After covering the basic raspberry pi tutorials in previous articles, in this project we are designing first application based on the previous tutorials. The first basic application is a Raspberry Pi Temperature Monitor where you can monitor the temperature readings on computer. For this we have interfaced Raspberry Pi with LM35. You can learn more about LM35 temperature sensor, here

As discussed in previous tutorials, there are no ADC channels provided internally in Raspberry Pi. So if we want to interface any analog sensors we need an ADC conversion unit. And in one of our tutorials we have Interfaced ADC0804 chip to Raspberry Pi to read an analog value. So go through it before building this Room Temperature Thermometer.

Wednesday, 1 June 2016

DIY Homemade Arduino

Arduino is an open-source development platform for engineers and hobbyists to develop electronics projects in an easy way. It consists of both a physical programmable development board (based on AVR series of microcontrollers) and a piece of software or IDE which runs on your computer and used to write and upload the code to the microcontroller board.

Arduino uses a boot loader. Boot loader is a piece of software that allows the new software to be burned on it. So in this DIY, I am going to discuss “How to Burn a Boot Loader in a Fresh ATmega328 Chip and Build a Homemade Arduino on PCB”. In Arduino UNO we use ATmega328 IC so that I select this one to demonstrate this project.

Read more: How to make homemade Arduino

Thursday, 5 May 2016

Latch Circuit Diagram

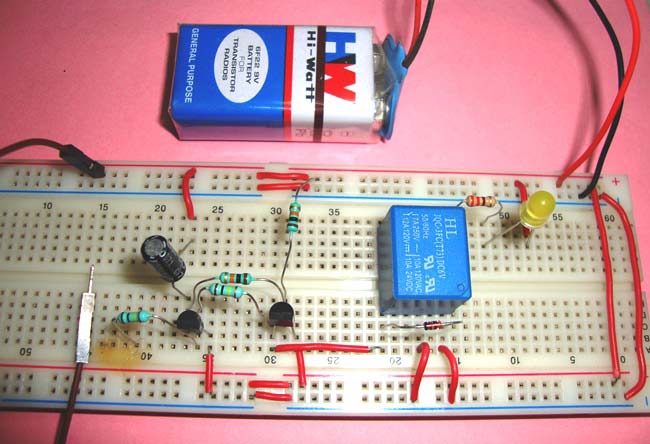
This Latching Circuit is a circuit which locks its output when a momentarily input trigger signal is applied, and retains the same state even after the input signal is removed. This State will remain indefinitely until the power is reset or some external signal is applied. Latch circuit is similar like SCR (Silicon Controlled Rectifier) and can be very useful in various circuits like alarm circuits.


Here is a very simple latch circuit which can be used to trigger the AC mains loads and alarms.

Friday, 22 April 2016

Getting Started with Arduino Due - Connecting LED's and PWM Tutorial

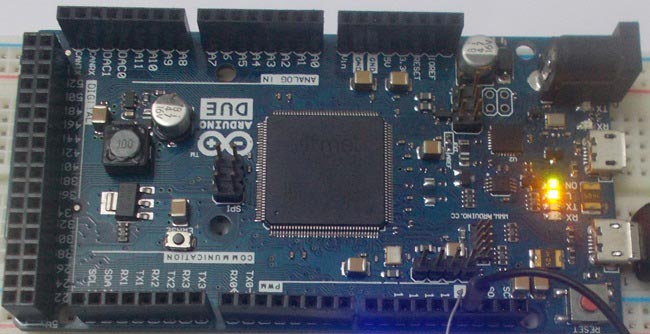
Let's first have a basic introduction of Arduino Due Board. It is an ARM controller based board designed for electronic Engineers and Hobbyists. ARM architecture is very influential in modern electronics. We are using the ARM architecture based controllers everywhere. For example we are using ARM controllers in our mobiles, iPods and computers etc. If someone wants to design industrial systems, it must be on ARM controllers. ARM controllers are very important because of the frequency of their operation and data bus size.
Here is a simple tutorial to blink an LED for every 1000ms.We will connect an LED at PIN13 through a 220Ω current limiting resistor.

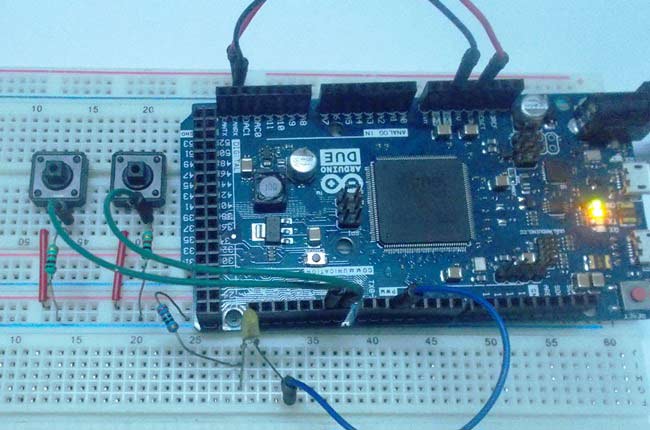
Now lets check this experiment to understand the PWM (Pulse Width Modulation) concept in Arduino Due board.

The circuit is connected on breadboard as per the connections shown in above image. However one must pay attention during connecting the LED terminals. Although the buttons can show bouncing effect but in this case it does not cause considerable errors, so we need not worry this time.

Check here the complete tutorial: PWM with Arduino Due

Tuesday, 5 April 2016

DIY Arduino Frequency and Capacitance Meter

Here are the two interesting and useful DIY tutorials to build a frequency counter and a capacitance meter using arduino uno.

1) Capacitance Meter
Although there are various equipments for measuring the capacitance, but all these devices are costly and not for everyone. With that in mind we have designed this simple Arduino Capacitance Meter to measure the capacitance of unknown capacitors.

2) Frequency Counter

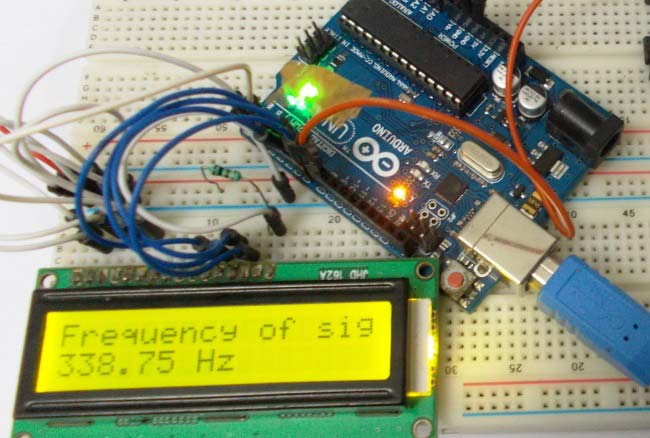
Similarly there are various devices to measure the frequency but all these devices are costly and are not for everyone. With that in mind we have designed this simple yet efficient Frequency Counter using Arduino Uno and Schmitt trigger gate.


Saturday, 27 February 2016

DIY Simple Music Operated LED Lights

In one of our previous circuits, we have built a Dancing LED circuit, which just follow a set pattern and we can only control the speed. Now we are taking this to next level, in this Music Operated Dancing LED Circuit, in which LEDs will flash according to music, just like Disco lights. This circuit is based on transistor BC547. This circuit is very simple and easy to build, it just requires few basic components and it looks very cool.

For more electronic circuits, visit:  http://circuitdigest.com/electronic-circuits


Thursday, 18 February 2016

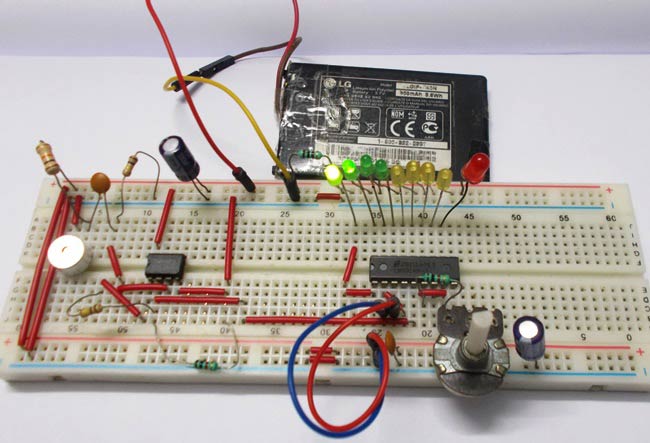
How to Make an LED VU Meter using LM3914

Volume Meter is something like an Equalizer, generally found in the Music systems. There we can see the dancing LEDs according to the music beats, if the music is loud, equalizer reaches to its peak and in low music it remains Low. 

In this project we have developed this Volume Meter or VU meter circuit, with the help of MIC, OP-AMP and LM3914, which glows the LEDs as per strength of the sound, if sound is low, lesser LEDs will glow, and if sound is High more LEDs will glow.

You can understand more about the working of this volume meter in the below video:


Find more such interesting circuits and projects on CircuitDigest.com