Thursday 22 December 2016

Arduino Plant Irrigation System

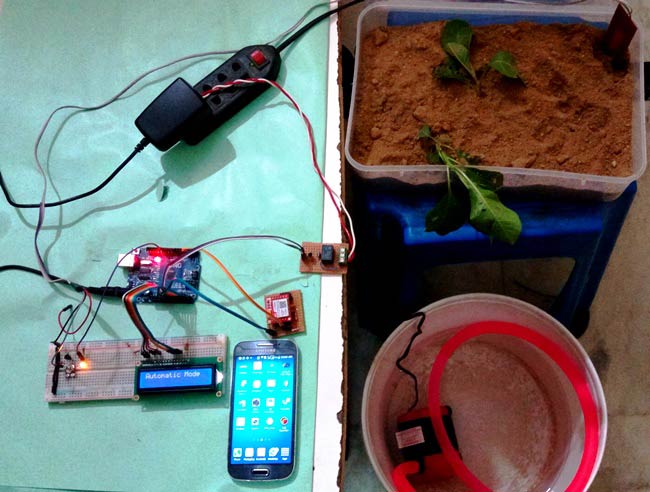
This interesting arduino based project automatically provides water to your plants and keep you updated by sending message to your cell phone.


Here we have used a soil moisture sensor, which checks the moisture level in the soil and if moisture level is low then Arduino switches On a water pump to provide water to the plant. Water pump gets automatically off when system finds enough moisture in the soil. Whenever system switched On or off the pump, a message is sent to the user via GSM module, updating the status of water pump and soil moisture. You can see the working of this project in below video:


This system could be very effective and useful to automate irrigation in Farms, gardens, home etc. It is completely automated and there is no need for any human intervention. To DIY this project check out this tutorial on CircuitDigest.com
Tuesday 20 December 2016

DIY Arduino based Robotic Arm

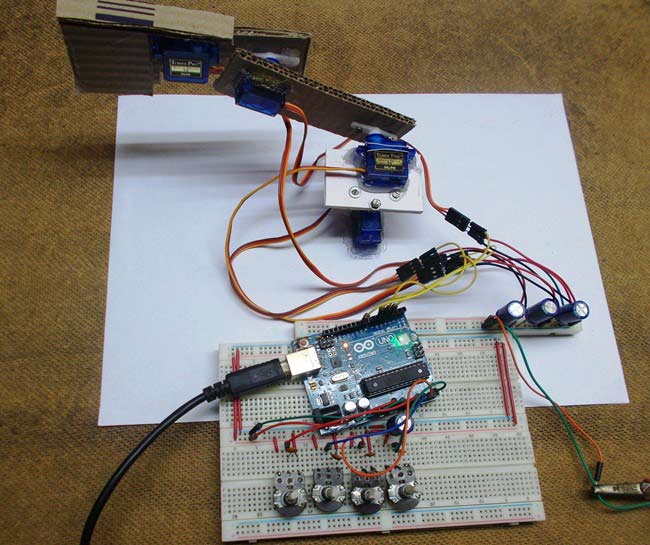
This DIY tutorial talks about creating a simple Arduino based Robotic Arm. This complete robotic arm will be designed from scratch. Entire process of construction has been explained in detail below. The arm has been built with cardboards and the individual parts have been locked to servo motors. Arduino Uno is programmed to control servo motors. Servos are serving as joints of Robotic arm here. Have a look to final setup of entire project.


Low torque servo motors are used here but you can use more powerful servos to pick heavy object. The whole process has been well demonstrated in the below video.

Thursday 17 November 2016

RPi Obstacle Avoiding Robot

We have shared many simple robotics projects like line follower, cell phone controlled, computer controlled, DTMF controlled, bluetooth controlled, wifi controlled robots, etc. and we made them by using various microcontrollers and boards like 8051, AVR, Arduino, Raspberry Pi.

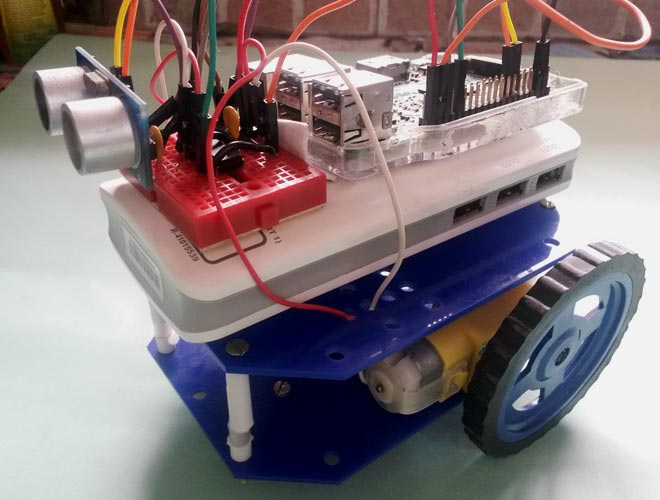
In this new project, we used popular development board Raspberry Pi to build an obstacle avoiding robot which detects any obstacle in front of its path, it change the direction. Ultrasonic sensors are used to detect any object in the path.

Have a look to this RPi controlled obstacle avoiding robot.

Raspberry Pi Obstacle Avoiding Robot using Ultrasonic Sensor

If you want to build this simple robot, just follow the DIY tutorial on CircuitDigest.com where it is explained in detail with the help of schematics and python programs.


Sunday 6 November 2016

IoT Notice Board using Raspberry Pi

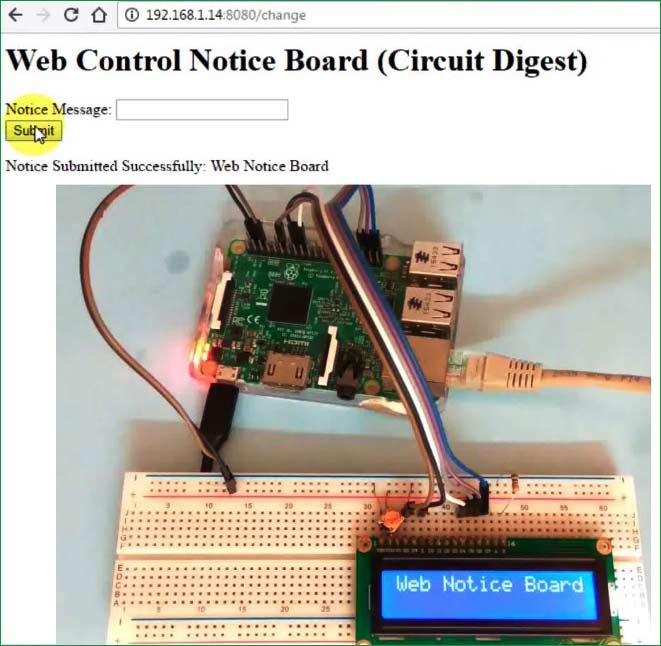
As the usage of Internet of Things increasing day by day and a wide range of IoT based products coming into market, we are also experimenting with some of our popular DIY projects by enabling them with IoT technology. If you have seen this Arduino notice board, where you can change the notice on notice board by simply sending a message from your cell phone. So this time we are making this project with Raspberry Pi and connecting with the internet. 

Here you can simply change the notice through the web interface. Check out this complete project with DIY instructions and required files.

Sunday 23 October 2016

Arduino LED VU Meter on PCB

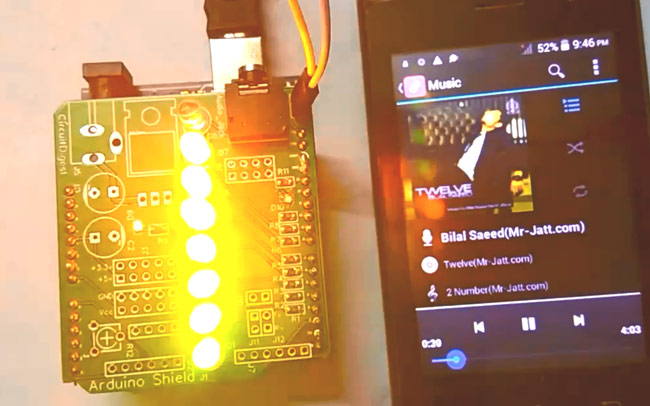
VU Meter or Volume Meter is very interesting project for music lovers. It is kind of an Equalizer, which is present in the Music systems where we can see the dancing of LEDs according to the music, if music is loud then equalizer go to its peak and more LEDs will glow, and if music is low then lesser number of LEDs shall glow. Volume Meter (VU) is an indicator or representation of the intensity of sound level over LEDs and can also serve as a volume measurement device.

DIY Arduino VU Meter

Although we can also create a simple VU meter circuit without using any microcontroller but to enhance it and work in a more beautiful way, we have designed it as an Arduino shield. Here you can find the complete DIY tutorial and a step by step guide to design the PCB layout for this VU meter.

Check it out here.


Watch the VU meter working in this video.

Friday 14 October 2016

DIY Arduino Smoke Detector


Smoke Detector using MQ2 Gas Sensor and Arduino
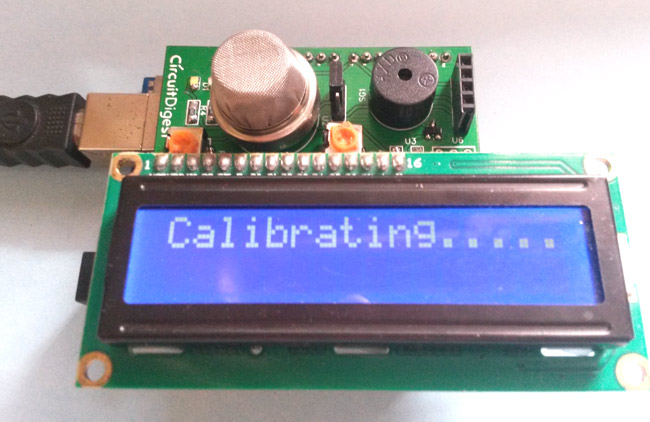
In this DIY project, a Smoke Detector Circuit is designed to sense the smoke in the air and display the same on 16x2 LCD. This circuit triggers the Buzzer when Smoke level becomes higher than 1000 ppm, the threshold value which can be modified in the code. This circuit mainly uses MQ2 Smoke/Gas sensor and Arduino to sense and calculate the level of smoke in air. 

Tuesday 30 August 2016

Call/Text using SIM900 GSM Module and Arduino

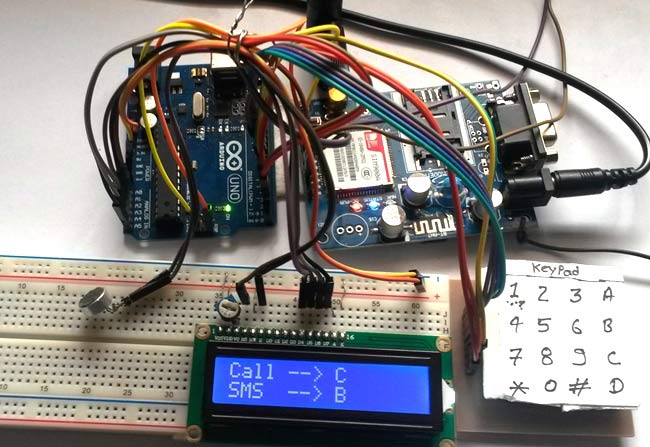
Isn't it to fascinating to create your own cell phone? If you know about working with arduino, its not much difficult, and you can develop interesting arduino projects.  Not that perfect one, but in this DIY project we are going to create basic functionality of a cell phone like making a call/receiving call, sending and receiving text messages. If you are new to GSM module, you can go through this article to understand more about GSM module.


Go through this tutorial to learn about creating basic functionalities of a cell phone by interfacing SIM900 GSM with Arduino.

Saturday 20 August 2016

Private Chat Room using Arduino, nRF24L01 and Processing

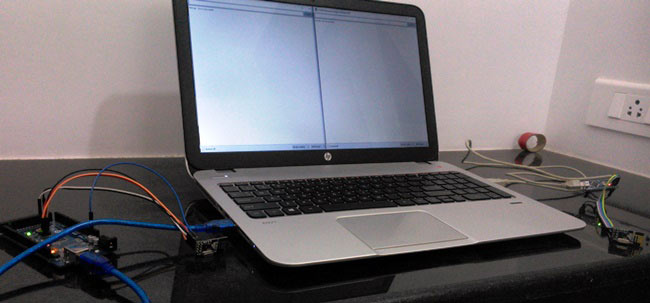
How cool it would be if you could communicate with people inside your home or work place without a net pack or Internet Connection?
What if we could customize our chat-screen with our own imaginations?
All this is possible with a microcontroller and a Wireless transmission medium. This Arduino Chat Room using nRF24L01 Project will guide you on setting up a low cost Chat Room in your local area.

Wednesday 10 August 2016

Arduino IR Remote Control

Arduino and Android based Universal IR Remote Control
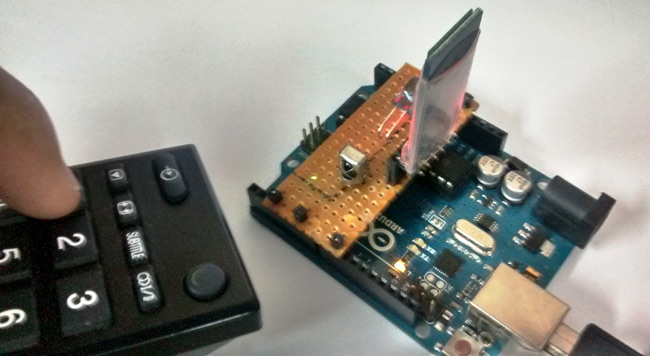
I started this project in order to get rid of various remotes at my home and build something single which could incorporate features of all of them. I got this idea when I saw one of my friend’s mobile phone with built in IR blaster, at that time I decided not to buy a similar phone rather make my own device which should be compatible with my existing handset. So here we are going to Convert an Android Phone into an IR Remote using Arduino to control various devices at home.IR-blaster-using-Arduino

Find here the complete project: Arduino IR Remote Control

Wednesday 13 July 2016

Arduino LED Scroll Bar

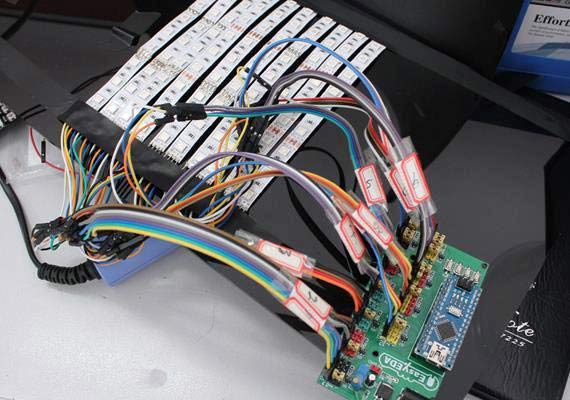
In this post we are covering a detailed DIY project to build an Arduino based LED scroll bar, as shown in the below picture.
This is quite simple project and only requires Arduino nano and few LED stips, along with some other basic electronic components.

So go through the link below to find the circuit diagram, PCB files and a detailed guide to build this beautiful LED scroll bar.


Thursday 7 July 2016

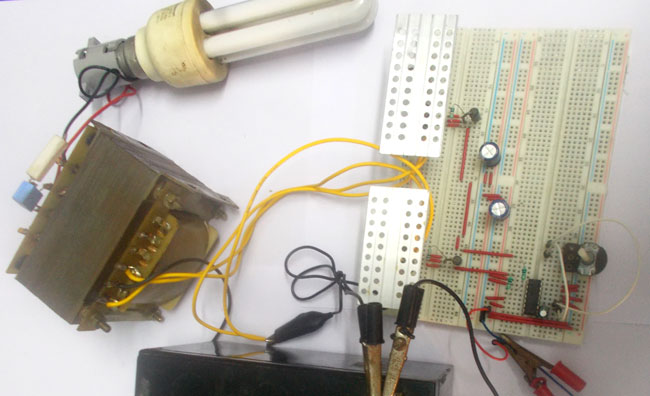
DC to AC Inverter Circuit

Inverters are quite handy in time of power cuts. The most common type of inverter we see in everyday life is UPS (Uninterruptible Power Supply). We use UPS to keep PC (Personal Computer) running in the event of power cuts. UPS keeps up the power delivered until battery bank runs out.

UPS is a system which converts DC to AC. So, UPS takes DC power of battery as input and gives AC power as output. In this tutorial we are going to design a 100 watt 12v DC to 220v AC inverter. This Circuit is easy and you only need few capacitors, resistors, diodes and a transformer. So here the guide and schematics to build this inverter circuit.

Tuesday 28 June 2016


Vehicles tracking through GPS is one of the useful technologies. But in this time of IoT where everything could be connected through internet, can we connect the GPS through internet and show data on Google maps? Yes! In this IoT project we are building more advanced version this Vehicle Tracking System in which you can Track your Vehicle on Google Maps. In this project, we will send the location coordinates to the Local Server and you just need to open a ‘webpage’ on your computer or mobile, where you will find a Link to Google Maps with your Vehicles Location Coordinates. When you click on that link, it takes you on Google Maps, showing your vehicles location. Here GPS Module is used to get the location coordinates, Wi-Fi module to send data to computer or mobile over Wi-Fi and Arduino is used to make GPS and Wi-Fi talk to each other.

Find out this complete IoT project here

Tuesday 7 June 2016

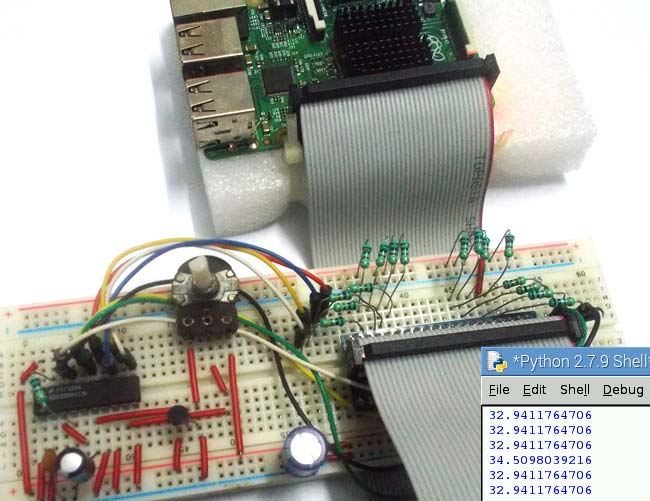
Temperature Measurement using Raspberry Pi

Room Temperature Measurement with Raspberry Pi

After covering the basic raspberry pi tutorials in previous articles, in this project we are designing first application based on the previous tutorials. The first basic application is a Raspberry Pi Temperature Monitor where you can monitor the temperature readings on computer. For this we have interfaced Raspberry Pi with LM35. You can learn more about LM35 temperature sensor, here

As discussed in previous tutorials, there are no ADC channels provided internally in Raspberry Pi. So if we want to interface any analog sensors we need an ADC conversion unit. And in one of our tutorials we have Interfaced ADC0804 chip to Raspberry Pi to read an analog value. So go through it before building this Room Temperature Thermometer.

Wednesday 1 June 2016

DIY Homemade Arduino

Arduino is an open-source development platform for engineers and hobbyists to develop electronics projects in an easy way. It consists of both a physical programmable development board (based on AVR series of microcontrollers) and a piece of software or IDE which runs on your computer and used to write and upload the code to the microcontroller board.

Arduino uses a boot loader. Boot loader is a piece of software that allows the new software to be burned on it. So in this DIY, I am going to discuss “How to Burn a Boot Loader in a Fresh ATmega328 Chip and Build a Homemade Arduino on PCB”. In Arduino UNO we use ATmega328 IC so that I select this one to demonstrate this project.

Read more: How to make homemade Arduino

Thursday 5 May 2016

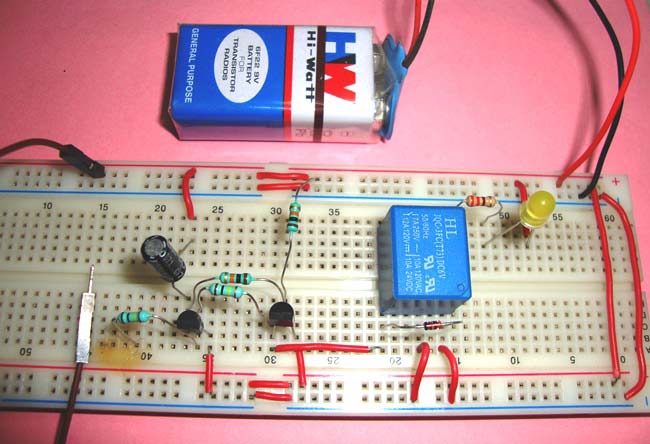
Latch Circuit Diagram

This Latching Circuit is a circuit which locks its output when a momentarily input trigger signal is applied, and retains the same state even after the input signal is removed. This State will remain indefinitely until the power is reset or some external signal is applied. Latch circuit is similar like SCR (Silicon Controlled Rectifier) and can be very useful in various circuits like alarm circuits.


Here is a very simple latch circuit which can be used to trigger the AC mains loads and alarms.

Friday 22 April 2016

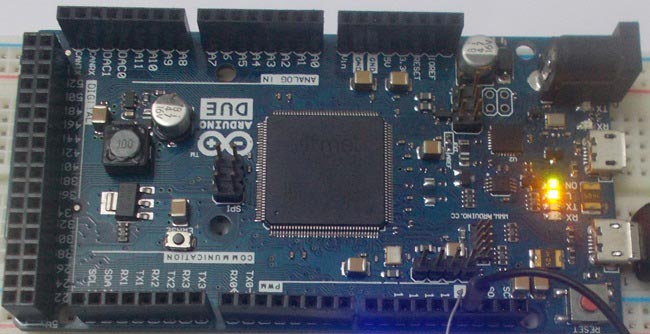
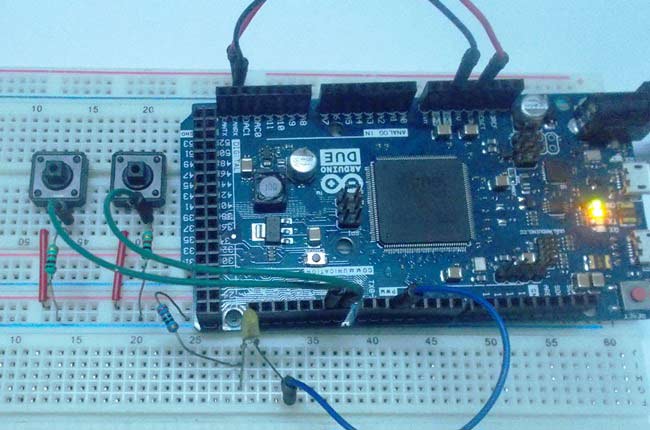
Getting Started with Arduino Due - Connecting LED's and PWM Tutorial

Let's first have a basic introduction of Arduino Due Board. It is an ARM controller based board designed for electronic Engineers and Hobbyists. ARM architecture is very influential in modern electronics. We are using the ARM architecture based controllers everywhere. For example we are using ARM controllers in our mobiles, iPods and computers etc. If someone wants to design industrial systems, it must be on ARM controllers. ARM controllers are very important because of the frequency of their operation and data bus size.
Here is a simple tutorial to blink an LED for every 1000ms.We will connect an LED at PIN13 through a 220Ω current limiting resistor.

Now lets check this experiment to understand the PWM (Pulse Width Modulation) concept in Arduino Due board.

The circuit is connected on breadboard as per the connections shown in above image. However one must pay attention during connecting the LED terminals. Although the buttons can show bouncing effect but in this case it does not cause considerable errors, so we need not worry this time.

Check here the complete tutorial: PWM with Arduino Due

Tuesday 5 April 2016

DIY Arduino Frequency and Capacitance Meter

Here are the two interesting and useful DIY tutorials to build a frequency counter and a capacitance meter using arduino uno.

1) Capacitance Meter
Although there are various equipments for measuring the capacitance, but all these devices are costly and not for everyone. With that in mind we have designed this simple Arduino Capacitance Meter to measure the capacitance of unknown capacitors.

2) Frequency Counter

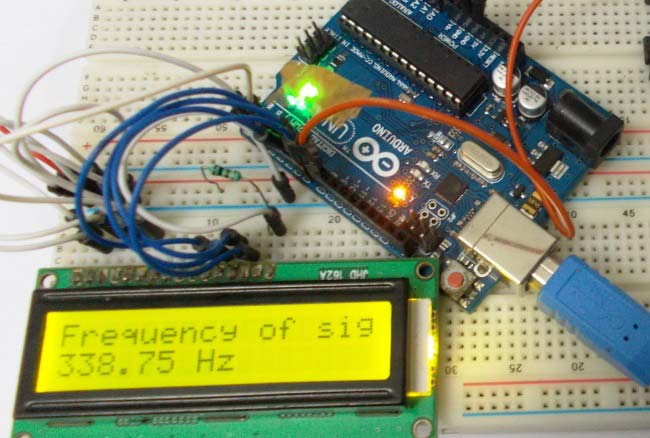
Similarly there are various devices to measure the frequency but all these devices are costly and are not for everyone. With that in mind we have designed this simple yet efficient Frequency Counter using Arduino Uno and Schmitt trigger gate.


Saturday 27 February 2016

DIY Simple Music Operated LED Lights

In one of our previous circuits, we have built a Dancing LED circuit, which just follow a set pattern and we can only control the speed. Now we are taking this to next level, in this Music Operated Dancing LED Circuit, in which LEDs will flash according to music, just like Disco lights. This circuit is based on transistor BC547. This circuit is very simple and easy to build, it just requires few basic components and it looks very cool.

For more electronic circuits, visit:  http://circuitdigest.com/electronic-circuits


Thursday 18 February 2016

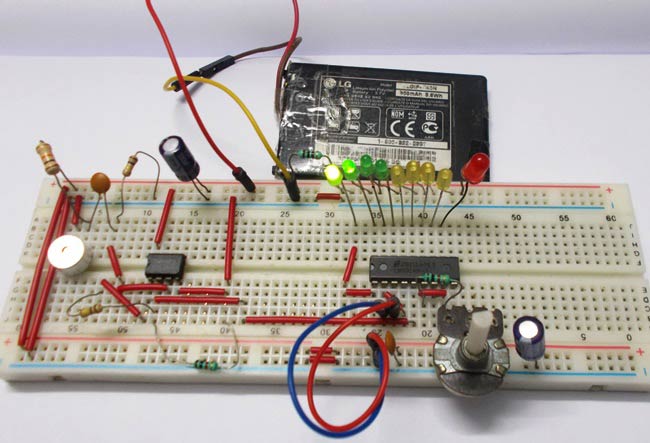
How to Make an LED VU Meter using LM3914

Volume Meter is something like an Equalizer, generally found in the Music systems. There we can see the dancing LEDs according to the music beats, if the music is loud, equalizer reaches to its peak and in low music it remains Low. 

In this project we have developed this Volume Meter or VU meter circuit, with the help of MIC, OP-AMP and LM3914, which glows the LEDs as per strength of the sound, if sound is low, lesser LEDs will glow, and if sound is High more LEDs will glow.

You can understand more about the working of this volume meter in the below video:


Find more such interesting circuits and projects on CircuitDigest.com

Thursday 14 January 2016

Bluetooth Controlled Robot using Arduino


This is an interesting project where we have used a toy car to control it through the bluetooth of your cell phone. We have used the arduino board in this project.

In fact Bluetooth controlled car is controlled by using Android mobile phone instead of any other method like buttons, gesture etc. Here only needs to touch button in android phone to control the car in forward, backwardd, left and right directions. So here android phone is used as transmitting device and Bluetooth module placed in car is used as receiver. Android phone will transmit command using its in-built Bluetooth to car so that it can move in the required direction like moving forward, reverse, turning left, turning right and stop.

Check here the full project with circuit diagram and code: Bluetooth Controlled Robot using Arduino