
If you're looking to add wireless communication to your project, the Arduino and nRF24L01 module combo is one of the most reliable and cost-effective solutions available. Whether you're building a DIY spy bug, a long-range walkie-talkie, or just want to control devices wirelessly, the nRF24L01 lets you send and receive data over long distances using the 2.4GHz band. In this guide, you'll learn how to create your own wireless Arduino project using the nRF24L01 transceiver , complete with circuit diagrams and step-by-step instructions.
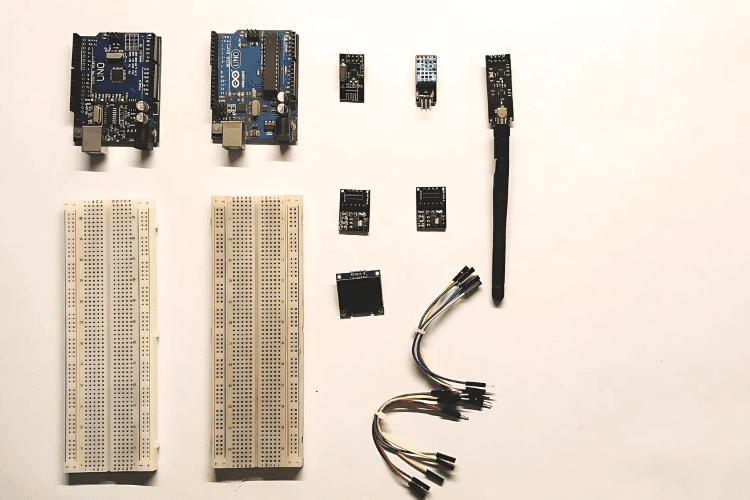
Components Required
-
Arduino Uno – x2
-
nRF24L01 – x2
-
3.3V Adapter Board for nRF24L01 – x2
-
DHT11 Temperature and Humidity Sensor
-
OLED Display
-
Breadboard – x2
-
Jumper Wires
Understanding the nRF24L01 Module


Final Working and Testing
Once Code uploaded:
- The transmitter reads temperature and humidity every 2 seconds.
- The receiver gets the data and displays it on the OLED and Serial Monitor.
- You can test the range indoors or outdoors to explore its full potential.
Applications of nRF24L01
- Home automation
- Wireless sensors
- Remote-controlled robots.
In-depth Code and Project Tutorial : Interfacing nRF24L01 with Arduino UNO


