Showing posts with label Engineering. Show all posts

Wednesday, 8 May 2024

Design Tips and Troubleshooting Guide for the DRV8837

 The DRV8837, a robust N-channel MOSFET-based H-bridge DC motor driver, offers efficient control over DC motors and similar inductive loads. Its internal charge pump ensures seamless operation by generating the required gate drive voltage.


Alternatives:


DRV8837C or DRV8838 can serve as alternatives, with DRV8837C limited to 1A current handling capacity.

Other alternatives include L293D, L298, TB6612FNG, DRV8833, MAX1508, TA6586, DRV8871, MAX1919, and L9110.


Applications:


Robotics, printers, motorized vehicles, toys, solar tracking systems, and DIY projects benefit from the versatile motor control capabilities of the DRV8837.

Its compact footprint and robust features make it suitable for a wide range of applications requiring precise and efficient motor control, offering flexibility and reliability in diverse projects.


Key Design Considerations


Power Supply Recommendations: Incorporating appropriate local bulk capacitance is essential for motor-drive system design. This capacitance should align with factors such as the highest current demands, power-supply capability, and acceptable voltage ripple.

Layout Guidelines: When laying out the PCB, attention should be given to the placement of the VM and VCC pins. Bypassing these pins to ground using low-ESR ceramic capacitors, placed as close as possible to the respective pins, helps minimize parasitic inductance and ensures efficient operation.


Troubleshooting Tips for Seamless Operation


1. Overheating and Circuit Resetting:

Voltage spikes or excessive current demands may cause overheating or circuit resetting. Adding capacitors to suppress voltage spikes and ensuring proper bulk capacitance can mitigate these issues.


2. Non-functionality or Poor Performance:

Check all connections to ensure proper configuration and alignment with motor specifications. Mismatches in voltage or current ratings can lead to non-functionality or subpar performance.


3. Motor Jerking or Inconsistent Operation:

Verify that the voltage and current ratings of the motor align with the DRV8837's specifications. Additionally, adding a 0.1µF capacitor parallel to the motor pins can help reduce noise and ensure smoother operation.


By prioritizing design optimization and adhering to troubleshooting best practices, users can leverage the full potential of the DRV8837 in various applications. Understanding design considerations and addressing common issues empowers users to achieve seamless operation and maximize the efficiency of their motor control systems. For more technical details, refer to the DRV8837 datasheet.


Sunday, 14 April 2024

Choosing the Right Battery Charging IC: A Simple Guide for Your Projects


Selecting the appropriate battery charging IC is essential for maximizing the performance and durability of battery-powered devices. Whether you're working on DIY electronics or developing commercial products, understanding how to pick the right
battery charging IC can make a significant difference. Let's dive into a detailed guide to help you navigate this crucial aspect of electronics design.

Why Battery Charging ICs Matter


Battery charging ICs are responsible for managing the charging process of rechargeable batteries, ensuring they are charged safely and efficiently. By selecting the right IC, you can optimize the charging speed, protect against potential risks like overcharging or overheating, and extend the lifespan of your batteries.


Key Factors to Consider


  • Battery Type Compatibility: Start by identifying the type of battery you intend to charge, such as lithium-ion, lithium polymer, or NiMH. Different battery chemistries have specific charging requirements, and your IC should support these needs.

  • Charging Voltage and Current: Determine the ideal charging voltage and current specifications for your battery. The charging IC must provide the necessary levels to suit your battery's charging profile without causing damage.

  • Charging Speed: Evaluate the charging speed supported by the IC. While faster charging is desirable, it should be balanced with considerations for battery safety and longevity.

  • Input Power Source: Consider the power source available for charging, such as USB ports or AC adapters. Ensure that the charging IC is compatible with the input voltage and current ratings of your power source.

  • Safety Features: Look for built-in safety features like overcharge protection, over-discharge protection, thermal regulation, and short-circuit protection. These features are crucial for safeguarding both the battery and the charging circuit.

  • Size and Package Type: Check the physical dimensions and package type of the IC, especially if space is limited in your device. Common package types include QFN, DFN, and BGA.

  • Additional Features: Explore extra features offered by the IC, such as charging status indicators, battery temperature monitoring, and programmable charging profiles. These features can enhance charging performance and user experience.


How to Choose


  1. Research and Specifications: Start by researching the specifications and requirements of your battery and device. Understand the charging parameters needed for optimal performance.

  2. Comparison: Compare different battery charging ICs based on the identified criteria. Refer to datasheets and application notes from manufacturers for detailed information.

  3. Evaluation and Testing: If possible, prototype and test the selected ICs under real-world conditions to assess factors like charging efficiency and reliability.

  4. Feedback and Reviews: Seek insights from industry experts, forums, and user reviews to gather practical feedback on specific IC models.


By following this structured approach and considering important factors like battery type, charging specifications, safety features, and additional functionalities, you can confidently select the right battery charging IC for your electronic projects. This thoughtful decision-making process will ensure optimal battery performance and device reliability, ultimately enhancing the overall user experience.


Choosing the right battery charging IC requires careful consideration of various factors, but it's a critical step in the design process. By prioritizing safety, efficiency, and compatibility, you can create battery-powered devices that deliver outstanding performance and durability. Whether you're a hobbyist or a professional, mastering the art of selecting the right IC will elevate your electronics projects to the next level.


Thursday, 11 April 2024

Build Your Own Fire Fighting Robot with Arduino: A Step-by-Step Guide

 Fires can be devastating, but with advancements in robotics, we can create innovative solutions like the Fire Fighting Robot using Arduino. In this guide, we'll show you how to build a Fire Fighting Robot using simple components and Arduino. This project is a great starting point for anyone interested in robotics and automation.


What You'll Need


Gather these materials to get started:

  • Arduino UNO

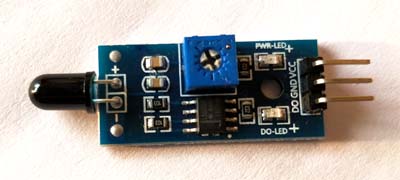
  • Fire or Flame sensors (3)

  • SG90 Servo Motor

  • L293D Motor Driver module

  • Mini DC Submersible Pump

  • Small Breadboard

  • Robot chassis with motors and wheels

  • Small can (for water container)

  • Connecting wires


How the Fire Fighting Robot Works


Our robot uses Arduino and flame sensors to detect fires. When it senses a fire, it calculates the fire's direction using sensor data and moves towards it with motor control. Once close to the fire, the robot activates a mini water pump mounted on a servo motor to spray water and extinguish the flames.


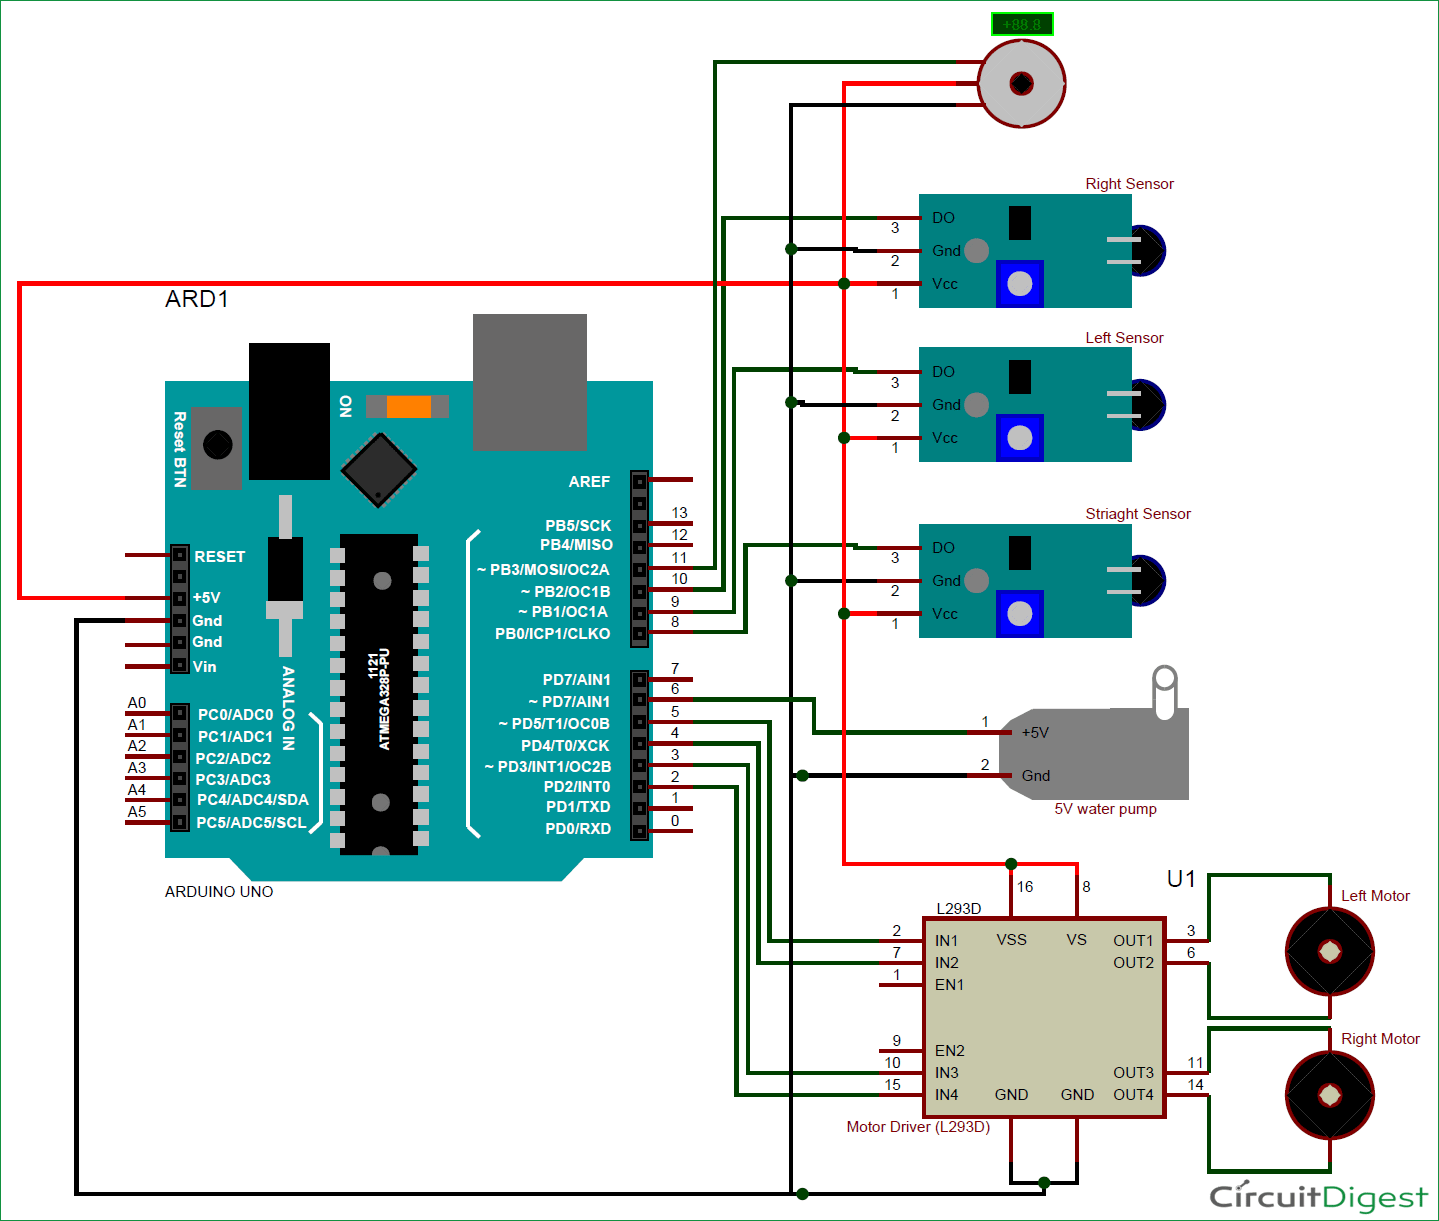
Follow the circuit diagram to assemble your Fire Fighting Robot. The connections are simple and can be adjusted based on your specific robot chassis and pump setup.


Use the provided Arduino code to control the robot's movements and water spraying. Customize the code to fine-tune the robot's behavior based on your preferences.


Testing and Deployment


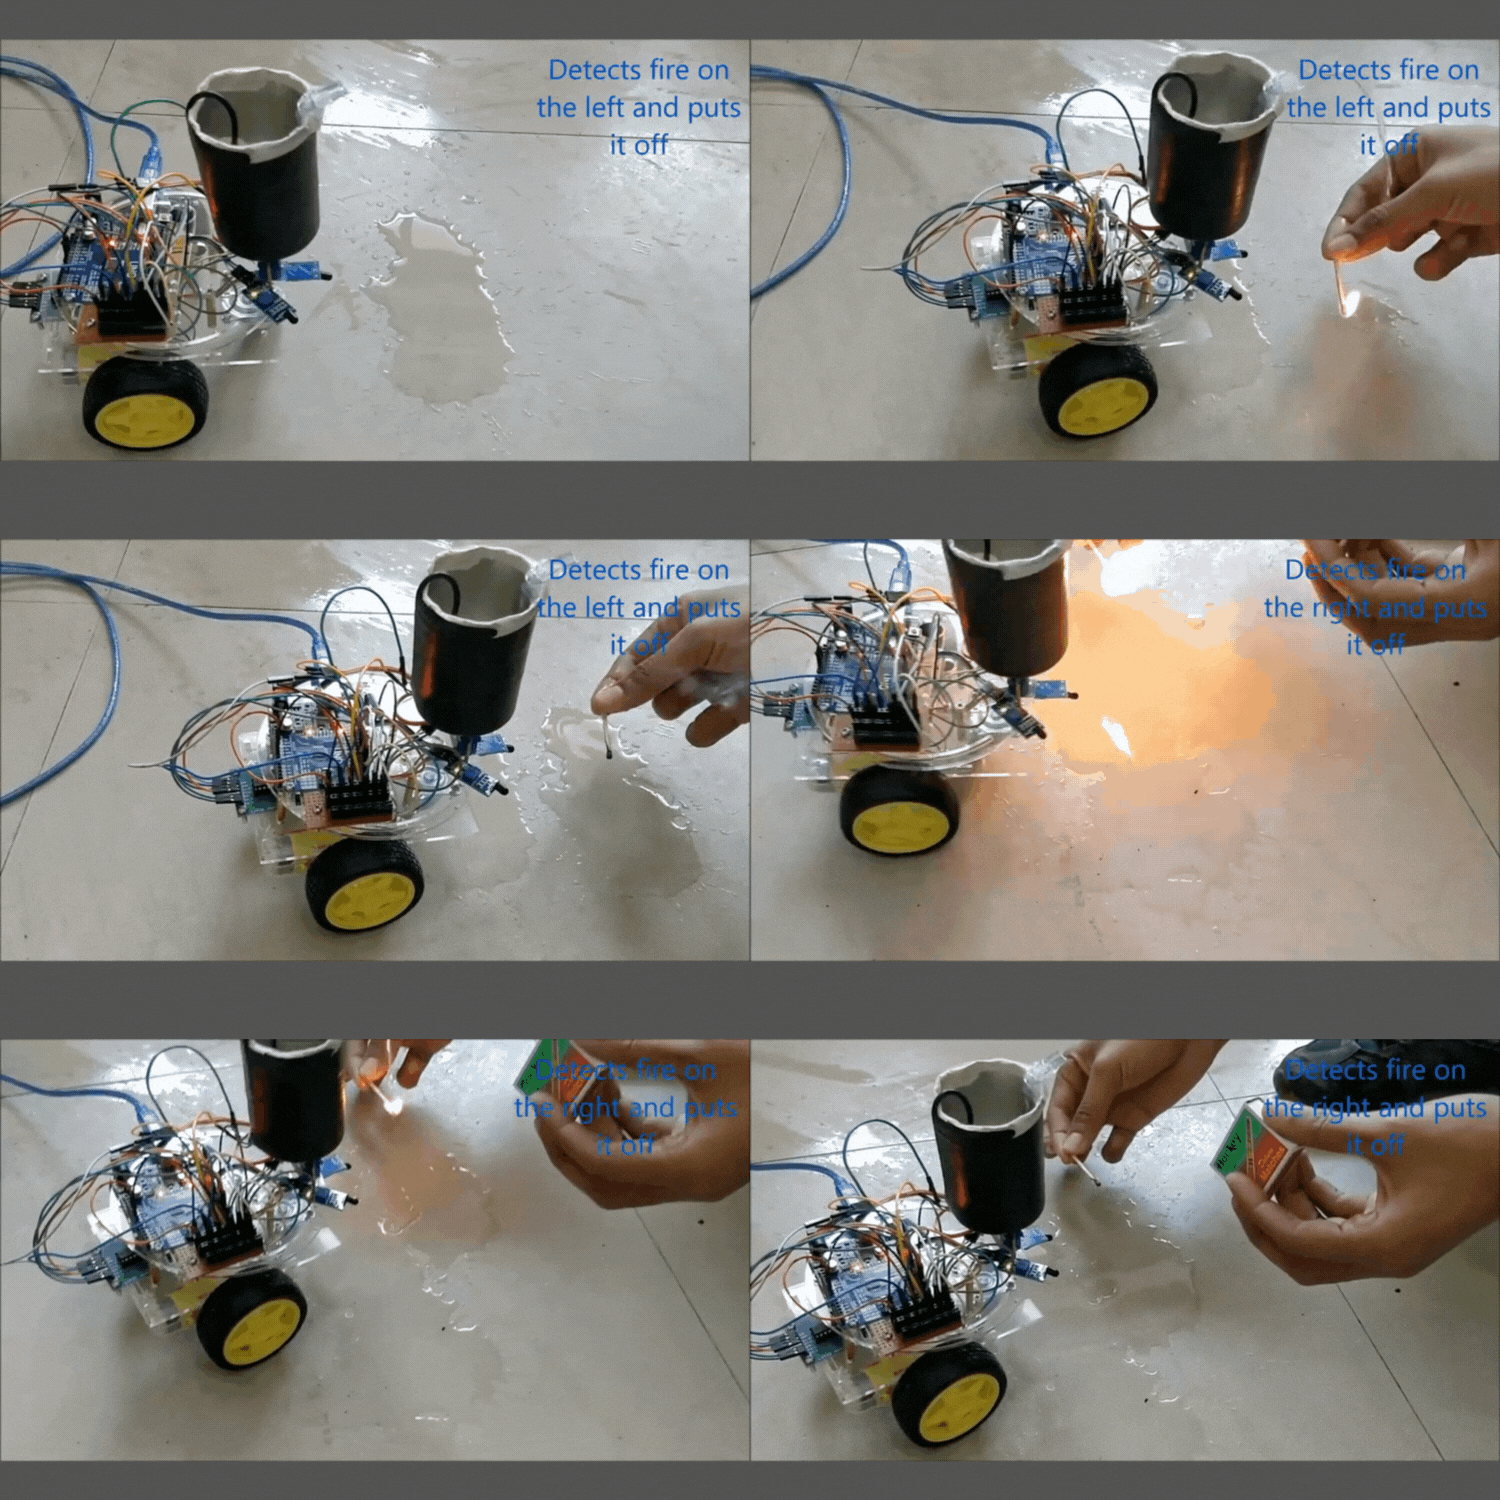
Before putting your robot to work, test each component to ensure everything functions correctly. Once assembled, watch as your robot detects fires and springs into action to extinguish them with precision.


Conclusion


Building a Fire Fighting Robot with Arduino is not just a fun project—it's a meaningful introduction to the world of robotics. Let's use technology to improve safety and protect lives from the dangers of fire.


Explore more robotics projects and share your experiences in the comments or forums. 


Wednesday, 27 March 2024

Building a POV Display: Showing Images and Animations with LEDs and ESP32


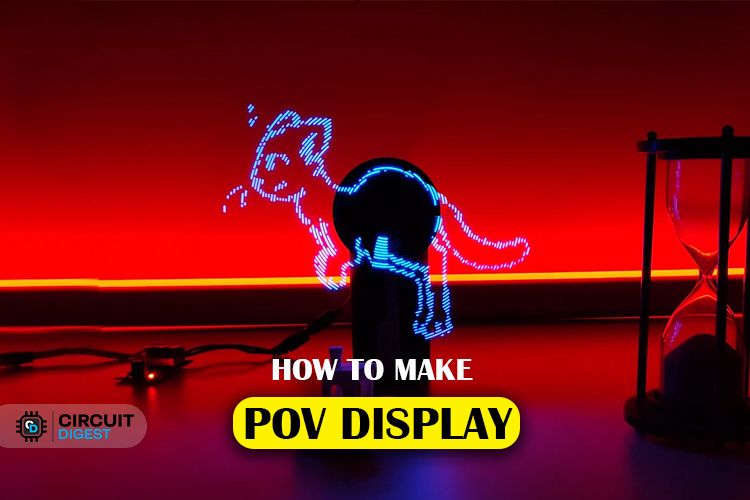
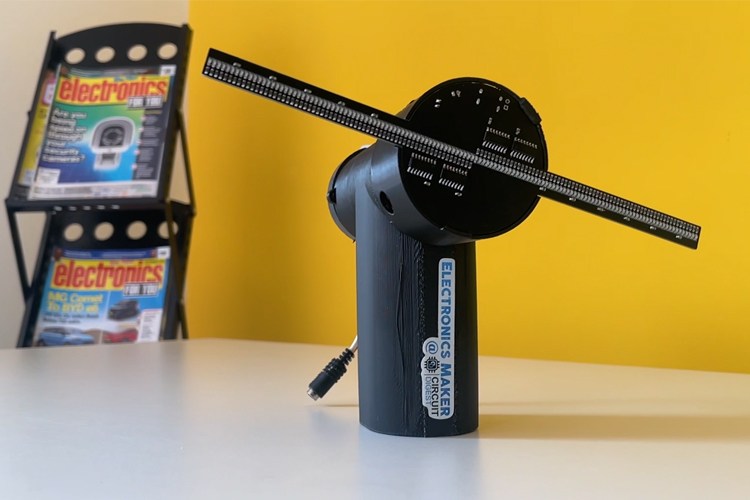
The Persistence of Vision (POV) Display project is about creating a visual illusion using LEDs mounted on rotating arms. This illusion tricks our eyes into seeing continuous motion, similar to how frames in a movie create the impression of movement.


We chose the ESP32 module as the brain of our display because it's affordable, easy to find, and powerful enough to handle the task. Each rotating arm has 64 LEDs, giving us a total display resolution of 128 pixels. This resolution strikes a good balance between image quality and simplicity.


The circuitry controls how the LEDs light up as the arms rotate. We use components like shift registers, voltage regulators, and Hall effect sensors to manage power, LED activation, and synchronization with the rotation speed. Custom PCBs help organize and connect all the components neatly. Working with Viasion Technology, a reliable PCB manufacturer, ensures that our boards are of high quality and meet our project's needs.


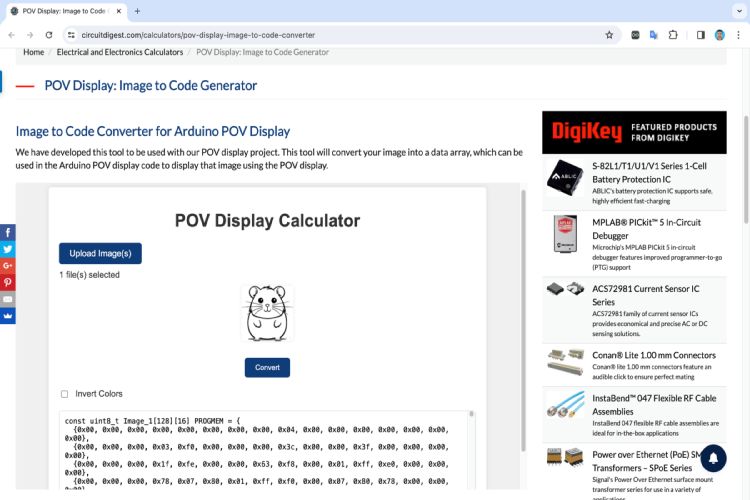
Converting images (image converter tool) for display involves transforming them into a format suitable for the rotating motion. This optimization improves storage efficiency and refresh rates, resulting in smoother animations. Our Arduino code controls everything, from animations to image rendering. It ensures that the LEDs light up at the right times to create captivating visuals. By using interrupts and careful calculations, the code syncs perfectly with the display's rotation.


Overall, our POV Display project is a fun exploration of visual illusions and technology. By following our detailed instructions and using the provided resources, anyone can build their own POV display and enjoy the magic of motion.