Thursday, 30 November 2017

Calculators for Electrical and Electronics Engineers & DIY Makers

These electrical and electronics engineering calculators are one of the most commonly used calculators by electronics students and circuit designers. These calculators solve common equations and formulas which takes quite a time so these calculators come handy by solving these calculations quickly.

Below is the list of calculators:

RMS Voltage Calculator
LED Resistor Calculator
Resistor Color Code Calculator
Op Amp Gain Calculator
LM317 Resistor/Voltage Calculator
Resistors in Parallel Calculator
Resistors in Series Calculator
Capacitor Value Calculator
555 Timer Astable Circuit Calculator
555 Timer Monostable Calculator
Voltage Divider Calculator
Ohm's Law Calculator

Tuesday, 28 November 2017

Raspberry Pi Based Ball Tracking Robot Project

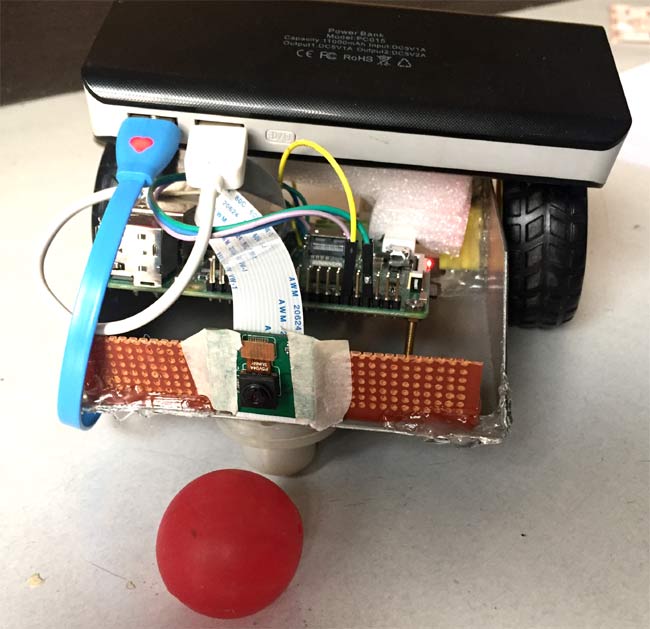
Image recognition is one of the popular way in which the robots are thought to understand objects by looking at the real world through a camera just like we do. In this project we are going to use popular development board Raspberry Pi to build a Robot that could track ball and follow it just like the football playing robots do.

Below is the picture of the robot built here:

Raspberry Pi Ball Tracking Robot using processing

OpenCV is popular and open source tool for Image processing but in this DIY project we are using the Processing IDE to keep the project simple and easy to build.

Go to the link below to find the complete DIY project with required circuit connections and codes:
Ball Tracking Robot

Thursday, 26 October 2017

DIY Mini Tesla Coil 9V

What is a Tesla Coil?
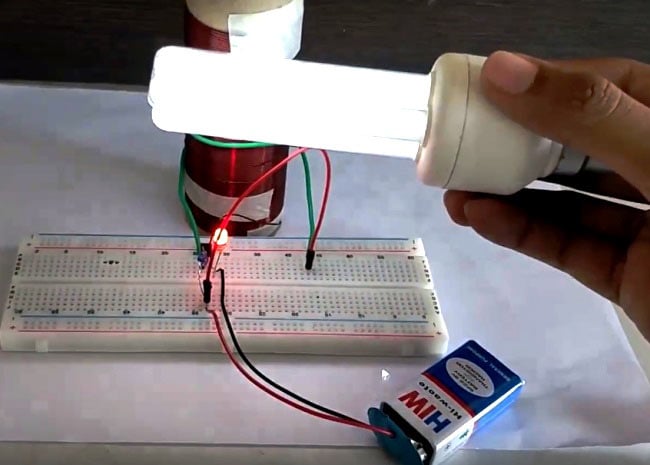
A Tesla Coil is a simple coil that creates a high voltage electric field in the air when a small input power is provided, this electric filed is strong enough to glow small light bulbs. This principle was invented by the Nicolas Tesla, who also holds the credit for inventing Induction Motors, AC current, neon bulbs, Remote controls etc..

How to Make a Mini Tesla Coil 9v

So how to make a Tesla Coil?
To make a mini Tesla coil at home in easy way you need following materials:
  1. Magnetic wire a.k.a Enamelled copper wire
  2. 22K Resistor
  3. 2N2222 Transistor
  4. LED
  5. Ordinary breadboard wire
  6. Any non conductive cylindrical object
  7. 9V Battery (or 5V Supply)
  8. Breadboard

Follow the below link to complete DIY tutorial on CircuitDigest.com which will guide you to make this mini Tesla coil.


If you want to see the working of this homemade Tesla coil, please see the video below:

Tuesday, 3 October 2017

Flip Flops

Flip flops or latches can also be understood as Bistable Multivibrator as two stable states. Generally, these latch circuits can be either active-high or active-low and they can be triggered by HIGH or LOW signals respectively.

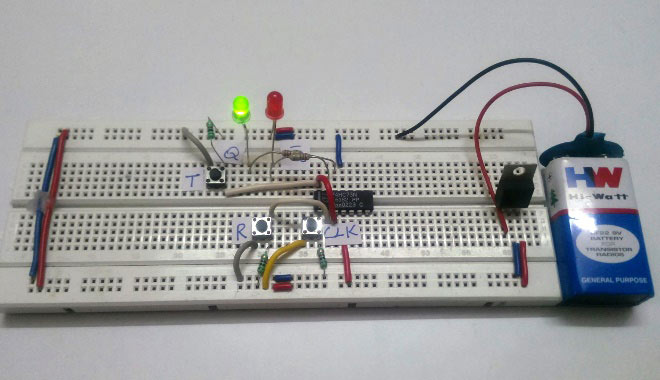
T Flip-Flop: Circuit, Truth Table and Working

Below are the tutorials for the common types of flip-flops:
1. RS Flip-flop Circuit (RESET-SET)
2. D Flip-flop Circuit (Data)
3. JK Flip-flop Circuit (Jack-Kilby)
4. T Flip-flop Circuit (Toggle)

Saturday, 23 September 2017

Automatic Street Light Controller Circuit

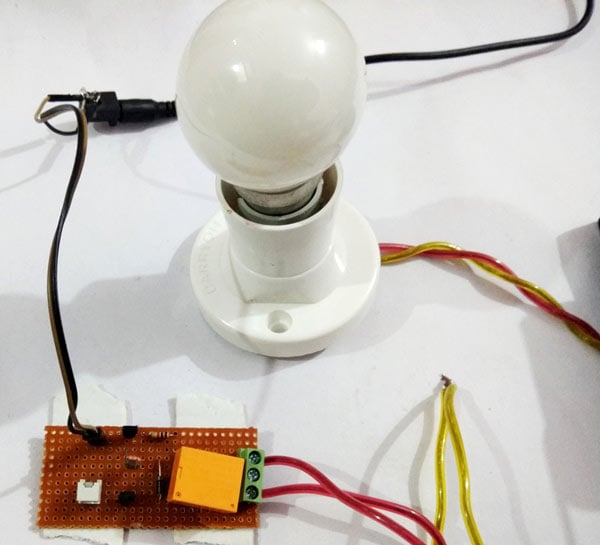
This simple circuit uses a LDR sensor to detector the presence of light and turns on or off the street lights accordingly. A demonstration of the project is done on the breadboard as shown below

Automatic Street Light Controller Circuit Using Relay and LDR

This circuit mainly uses an LDR and Relay along with few other commonly used electronics components such as BC547 transistor, resistors, 1N4007 diode etc.

You can find the circuit diagram and necessary details to DIY this circuit on the following link: Street light controller circuit

Demonstration video for the project is shown below:


Tuesday, 19 September 2017

Simple Arduino Voltmeter

With a simple knowledge of Arduino and Voltage Divider Circuit, we can turn the Arduino into Digital Voltmeter and can measure the input voltage using Arduino and a 16x2 LCD display.

Simple Arduino Digital Voltmeter

The circuit diagram which is used to build this arduino based voltmeter is given below. You can connect the arduino and other components as per the diagram.

Simple Arduino Digital Voltmeter Circuit

Once all the components are connected you can write the code for Arduino. Here is the link given from where you can download the arduino code for voltmeter.

Thursday, 31 August 2017

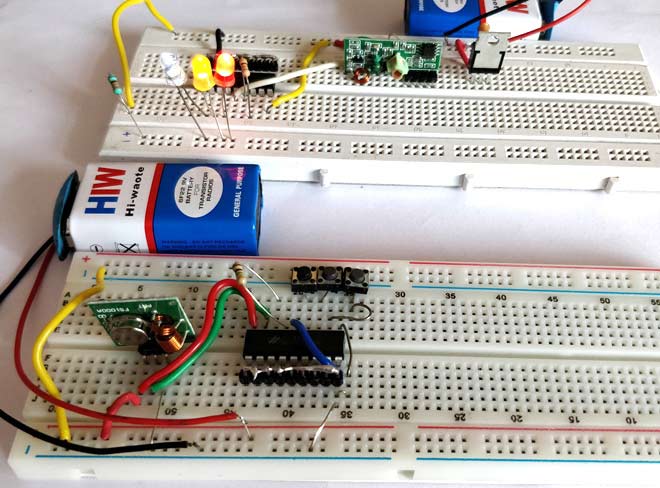
RF Transmitter and Receiver

RF Transmitter and Receiver Circuit

Making our projects Wireless always makes it to look cool and also extends the range in which it can be controlled. Starting from using a normal IR LED for short distance wireless control till an ESP8266 for worldwide HTTP control there are lots of ways to control something wirelessly. In this project we will learn how we can build wireless projects using a 433 MHz RF module. These modules are cheap for its functions and are easily available.


Here we will learn the basics of RF module and how to use it as a standalone RF Transmitter and Receiver. Here we have explained the RF Transmitter and Receiver Circuit by controlling the LEDs wirelessly using RF.